
Are you looking to add a personal touch to your paper lunch bags? Printing on a paper lunch bag is easier than you might think, and it can make your meals feel special or help your brand stand out.
Whether you want to customize bags for a party, a small business, or just for fun, this guide will show you simple, effective ways to do it. Keep reading, and you’ll discover the best methods to print on paper lunch bags without any hassle.
Your creativity is just a few steps away from turning plain bags into something unique and eye-catching.
Materials Needed
Printing on a paper lunch bag is a simple project. You only need a few materials to get started.
Gathering the right supplies helps you create clear and lasting prints on your bags.
Types Of Paper Lunch Bags
Choose the right paper lunch bag for your printing project. The paper type affects how the ink or paint will look and hold.
- Brown Kraft paper bags – strong and natural-looking
- White paper bags – smooth surface and bright color
- Wax-coated bags – water-resistant but harder to print on
- Recycled paper bags – eco-friendly and textured
Printing Tools And Supplies
Use the right tools to print your design clearly on the lunch bags. Some tools work better for certain papers.
| Tool | Best For | Notes |
| Stamp and Ink Pad | Brown Kraft, White Bags | Choose permanent ink for durability |
| Paint Pens | All Types | Allow detailed and colorful designs |
| Screen Printing Kit | Multiple Bags | Good for larger projects |
| Markers | White and Recycled Bags | Use non-bleeding markers |
| Stencils | All Types | Helps create consistent patterns |
Optional Decorative Items
Decorative items add a personal touch to your printed lunch bags. Use them to enhance your design.
- Stickers – add fun shapes or logos
- Washi Tape – decorate edges with colorful patterns
- Ribbon or Twine – tie the bags closed with style
- Glitter Glue – add sparkle to your prints
- Colored Paper Cutouts – glue shapes for a layered look
Credit: www.alibaba.com
Preparing Your Workspace
Before printing on a paper lunch bag, set up your workspace carefully. A good workspace helps you work faster and cleaner.
Organize your tools and materials so they are easy to reach. Clear space lets you focus on printing without distractions.
Choosing The Right Surface
Pick a flat and stable surface to work on. This helps the paper bag stay steady while you print.
Wood or plastic tables work well. Avoid soft or uneven surfaces that can cause wrinkles or smudges.
- Use a table that does not wobble
- Make sure the surface is clean and dry
- Choose a surface big enough for your materials
Protecting Your Area
Cover your workspace with newspaper or a plastic sheet to catch ink or paint spills. This keeps your area clean.
Use a cutting mat or cardboard under the bag to protect the table from pressure or sharp tools.
- Lay down old newspapers or a drop cloth
- Use a cutting mat to protect from sharp edges
- Keep paper towels nearby for quick clean-up
Design Ideas
Printing on paper lunch bags can make your meals more fun and special. You can use simple designs that anyone can create.
Try different themes to suit your needs. Simple patterns, personal messages, and seasonal themes work well on lunch bags.
Simple Patterns
Simple patterns are easy and look neat on paper lunch bags. You can repeat shapes like dots, stripes, or stars.
These patterns add style without making the bag too busy. Use colors that match your meal or occasion.
- Polka dots in different sizes
- Thin or thick stripes
- Small stars or hearts
- Geometric shapes like triangles or squares
Personalized Messages
Adding personal messages makes lunch bags unique. Write short notes or names to show you care.
Keep messages simple and clear. Use easy fonts or handwriting styles for a warm touch.
- “Have a great day!”
- Child’s name or nickname
- Short motivational quotes
- Funny lunch-related sayings
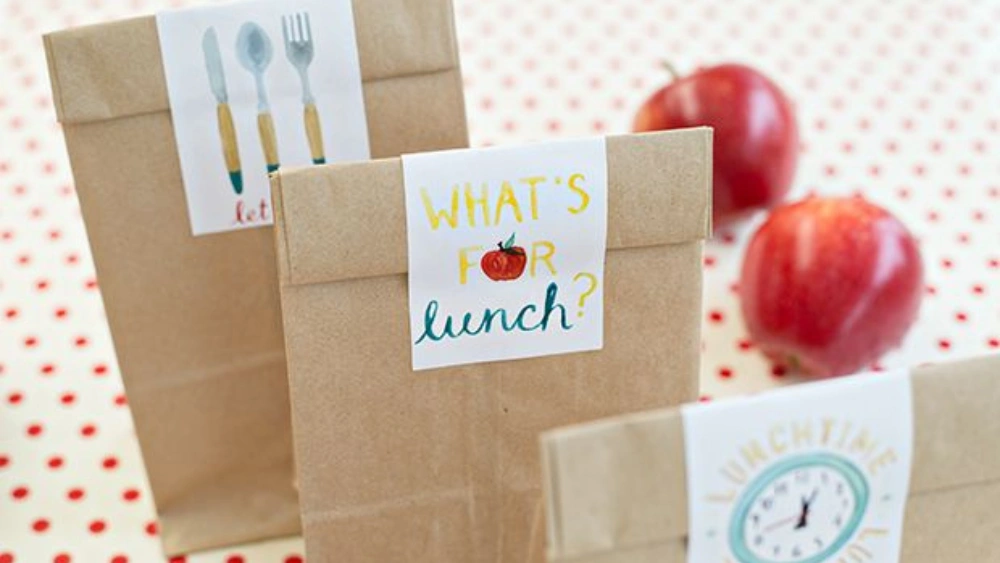
Seasonal Themes
Seasonal themes add timely charm to lunch bags. Use designs that match holidays or weather.
Change colors and pictures to fit seasons. This makes lunch time feel special and festive.
- Snowflakes and snowmen for winter
- Flowers and bright colors for spring
- Sun and beach items for summer
- Leaves and pumpkins for fall

Credit: www.my1styears.com
Printing Techniques
Printing on paper lunch bags adds a personal touch to gifts and parties. Different techniques work well depending on your design and tools.
This guide covers popular methods for printing on paper lunch bags. Each technique offers unique effects and ease of use.
Stamping
Stamping uses rubber or foam stamps dipped in ink or paint. You press the stamp onto the bag to create patterns or logos.
It works best with simple shapes and solid colors. Let the ink dry completely to avoid smudging.
Stenciling
Stenciling uses cut-out designs to apply paint or ink in specific shapes. Place the stencil on the bag and dab paint over it.
- Secure stencil with tape or clips
- Use a sponge or brush to apply paint
- Lift stencil carefully to prevent smears
- Allow paint to dry before handling
Using Paint Pens
Paint pens let you draw directly on the paper bag. They are good for detailed work and writing names or messages.
Choose paint pens that dry quickly and do not bleed. Test on scrap paper first to check flow and color.
Screen Printing Basics
Screen printing uses a mesh screen to push ink through a stencil onto the bag. It is ideal for multiple copies of the same design.
| Material | Purpose | Tips |
| Screen mesh | Holds the stencil | Choose fine mesh for detailed designs |
| Stencil | Blocks ink in unwanted areas | Use waterproof material |
| Squeegee | Pushes ink evenly | Apply steady pressure |
| Fabric ink | Prints on paper bags | Use ink that dries fast |
Step-by-step Printing Process
Printing on a paper lunch bag is a simple way to personalize it. The process requires careful preparation and the right materials. Follow these steps for good results.
This guide covers preparing the bag, applying the design, and drying the print. Each part is important for a clear and lasting print.
Preparing The Bag
Start with a clean, flat paper lunch bag. Remove any dust or dirt that might affect the print. Smooth out any wrinkles or folds on the bag’s surface.
- Choose a plain paper lunch bag without coating
- Wipe the surface with a dry cloth
- Press the bag flat under a heavy book if needed
- Allow the bag to rest to avoid creases
Applying The Design
Select your printing method. Common options include screen printing, stamping, or using a printer with transfer paper. Each method needs a slightly different setup.
| Method | Materials Needed | Tips |
| Screen Printing | Screen, ink, squeegee | Use thick ink and firm pressure |
| Stamping | Stamp, ink pad | Press evenly to avoid smudges |
| Transfer Printing | Printer, transfer paper, iron | Follow transfer paper instructions carefully |
Drying And Setting
Let the printed design dry completely before handling. This step helps the ink set and prevents smearing.
- Place the bag on a flat surface
- Keep it away from moisture and dust
- Allow drying time according to ink type
- Use a hairdryer on low heat for faster drying
- Do not stack bags until fully dry
Tips For Best Results
Printing on paper lunch bags is a fun way to personalize them. Follow these tips for the best results.
Ensure your designs come out clear and smudge-free with these easy steps.
Avoiding Smudges
Smudges can ruin the look of your printed lunch bags. Use these tips to avoid them.
- Wait for the ink to dry completely before handling the bag.
- Avoid touching the printed area with wet hands.
- Use a fast-drying ink for better results.
Maintaining Print Quality
High-quality prints make your lunch bags stand out. Keep the quality top-notch with these steps.
Choose the right paper type for your printer. Test different settings to find the best match.
Cleaning Up
After printing, clean up your workspace to prevent any ink stains.
| Task | Tools Needed |
| Wipe printer surfaces | Soft cloth |
| Dispose of used ink cartridges | Recycling bin |
| Organize print designs | Folders |
Creative Customization Ideas
Printing on paper lunch bags adds a personal touch. You can make them special with simple supplies.
Explore creative ways to customize your lunch bags for any occasion.
Adding Stickers And Labels
Stickers and labels are an easy way to add flair to your paper lunch bags.
- Choose stickers that match the theme of your event.
- Create custom labels with names or messages.
- Mix and match colors and shapes for variety.
Using Washi Tape
Washi tape is colorful and versatile. It adds charm to any paper bag.
Here are some creative uses:
- Wrap tape around the bag’s top for a decorative edge.
- Create patterns or stripes across the bag.
- Use tape to attach small notes or tags.
Incorporating Handwritten Notes
Handwritten notes add a personal touch to your lunch bags. Use colorful pens or markers.
| Message | Occasion |
| Have a great day! | Everyday |
| Happy Birthday! | Birthday |
| Good luck! | Exams |
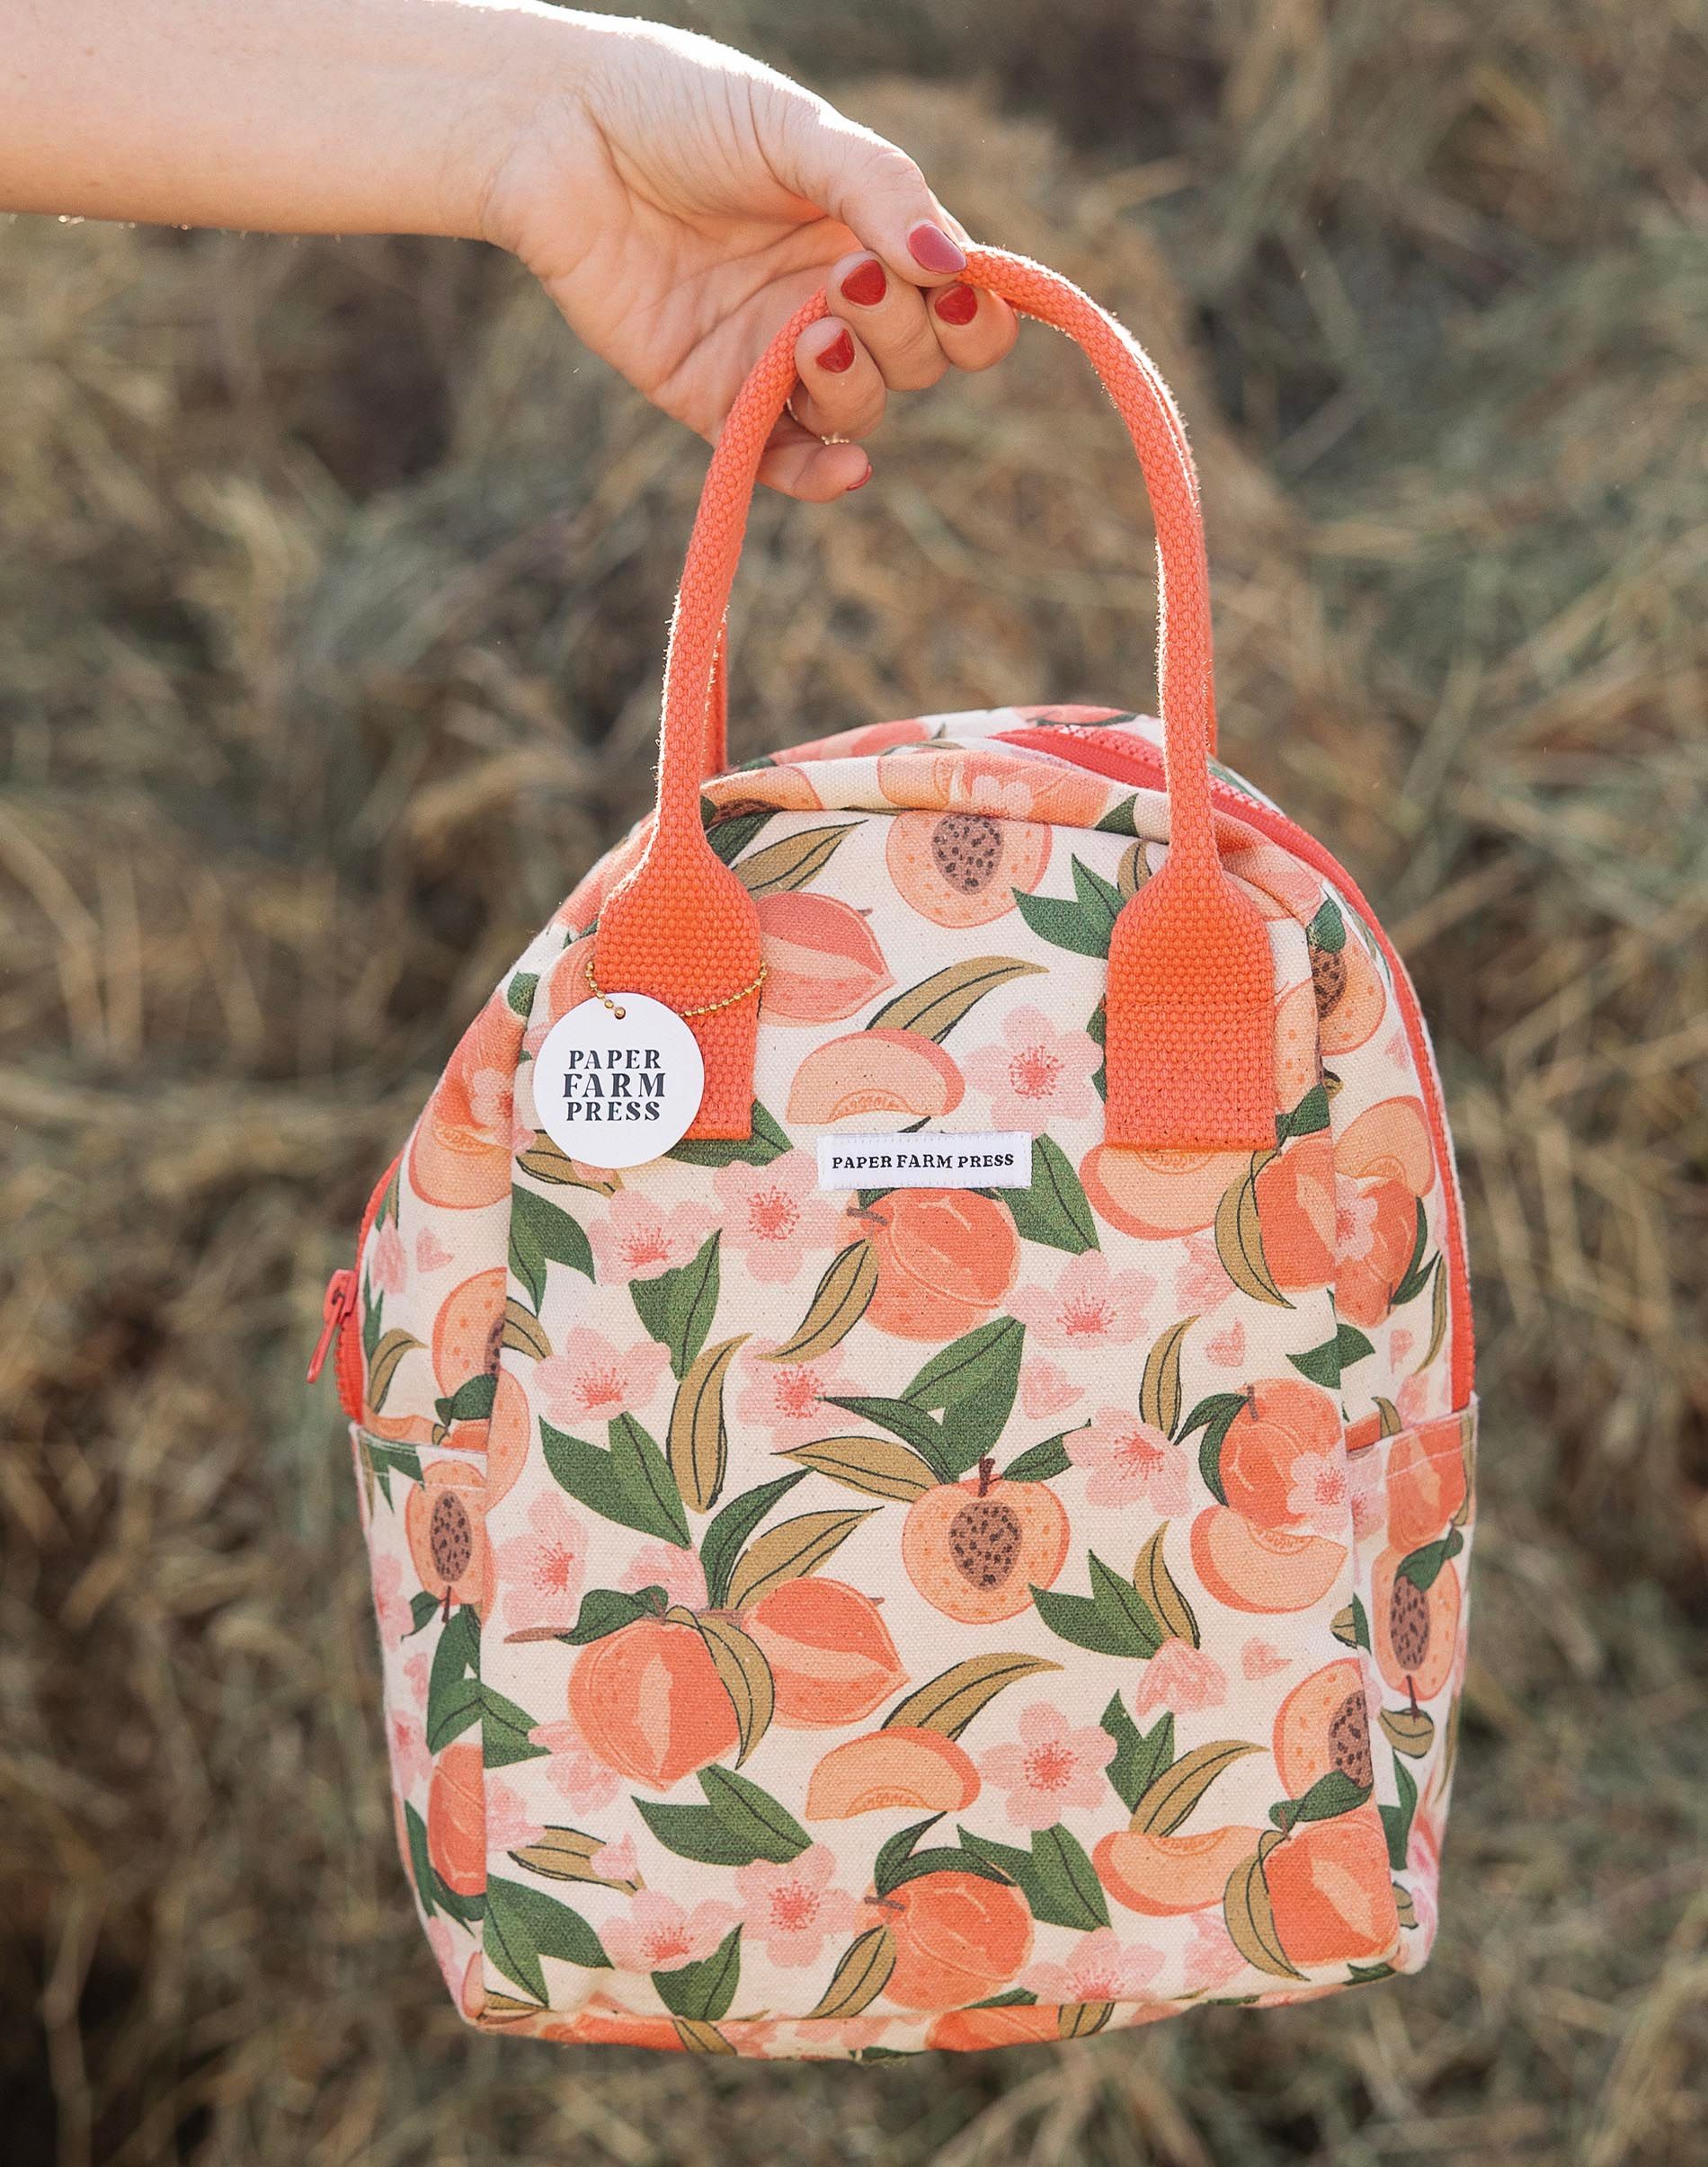
Credit: www.paperfarmpress.com
Common Mistakes To Avoid
Printing on paper lunch bags can be fun and creative. You can add your own style to plain bags.
Some mistakes can ruin your print or make it look bad. Avoid these to get the best results.
Choosing Incompatible Materials
Not all inks or paints work well on paper lunch bags. Some materials can cause smudges or tears.
Use inks or paints made for porous surfaces like paper. Avoid thick paints that do not dry fast.
- Check if the ink is safe for food-related items
- Avoid using markers that bleed through the bag
- Choose water-based inks for better absorption
Overloading The Design
Too much detail or color can make your design unclear. Complex designs may not print well on paper bags.
Keep the design simple and bold. Use fewer colors and clear shapes for better results.
- Limit the number of colors to two or three
- Use bold lines instead of thin details
- Leave some empty space around the design
Skipping Drying Time
Not letting the ink dry fully can cause smudging or damage. Paper lunch bags are thin and absorb ink slowly.
Wait at least 15 to 30 minutes before handling the bag. Let it dry in a flat, clean area without touching other surfaces.
- Avoid stacking bags before ink dries
- Use a fan or air dry to speed up drying
- Do not rush the printing process
Frequently Asked Questions
Can I Print Directly On A Paper Lunch Bag?
Yes, you can print directly using a stencil or rubber stamps. Avoid inkjet printers as ink may smudge. Use fabric or permanent markers for best results.
What Type Of Ink Works Best On Paper Lunch Bags?
Permanent markers or acrylic paint work best. They dry quickly and resist smudging. Avoid water-based inks as they soak through thin paper.
How Do I Prepare A Paper Lunch Bag For Printing?
Ensure the bag is flat and clean. Iron it lightly if wrinkled. Place a cardboard piece inside to prevent ink bleed-through.
Can I Use A Home Printer To Print On Lunch Bags?
Home printers usually don’t support thick or uneven surfaces. Printing directly may cause jams or poor quality. Use stamps or hand-drawn designs instead.
Conclusion
Printing on a paper lunch bag is simple and fun. Choose the right ink and design for best results. Test your print on a small area first. Let the ink dry completely before using the bag. Personalizing lunch bags adds a special touch to any meal.
Try different styles to find what you like most. Enjoy creating unique and useful bags every time. Keep practicing, and your skills will improve fast. Printing on paper lunch bags can be a great way to share your creativity.


