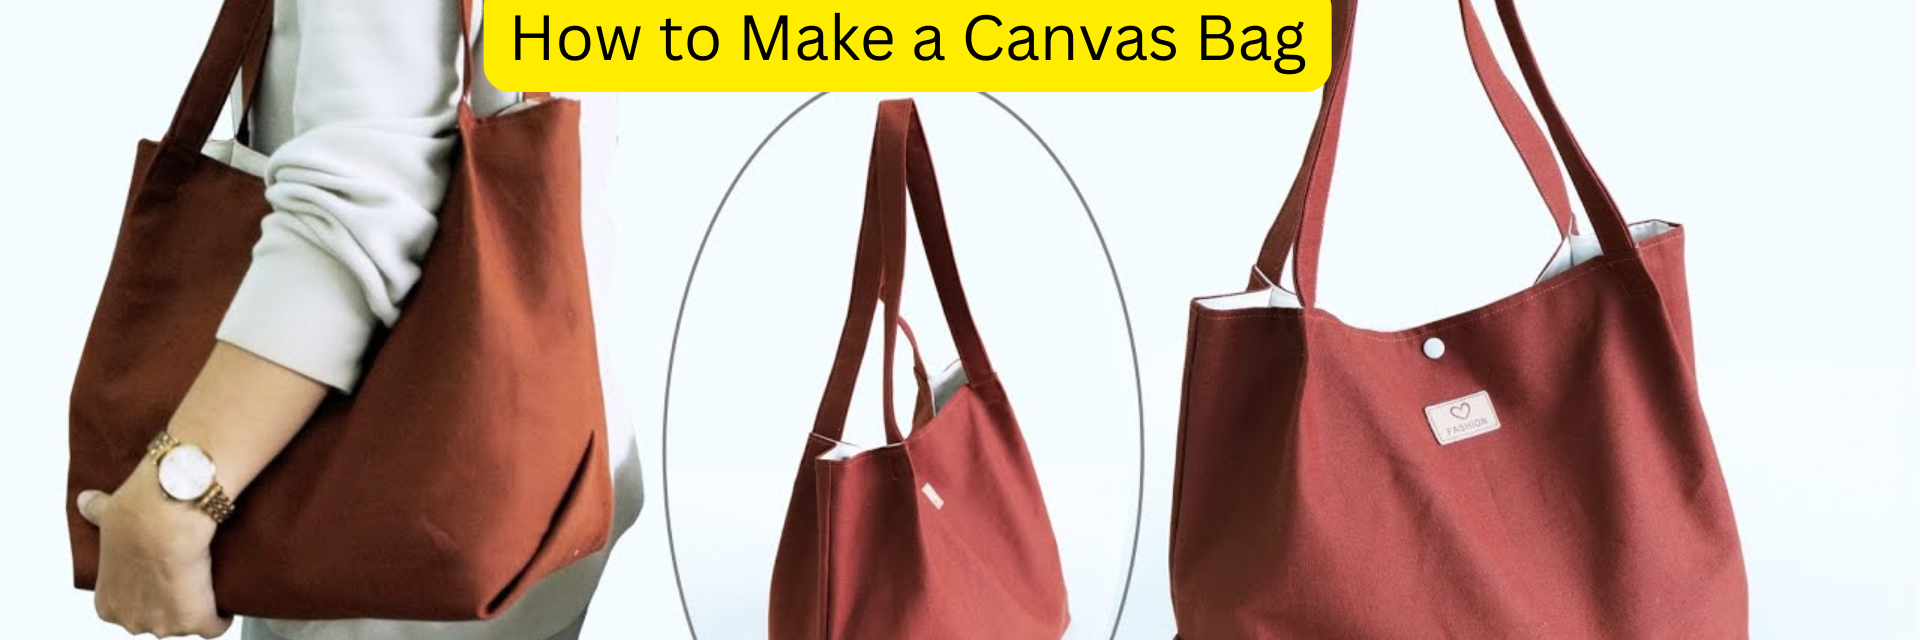
Are you tired of carrying the same old bag every day? Imagine having a stylish, sturdy shopper bag made by your own hands—perfect for groceries, books, or a day out.
Making your own shopper bag is easier than you think, and it lets you create something unique that fits your style and needs. In this guide, you’ll discover simple steps and clever tips that make the process fun and rewarding.
Ready to turn plain fabric into your new favorite bag? Let’s get started!
Materials Needed
Making a shopper bag is a fun and useful project. You need some materials to start. Choosing the right items helps you make a strong, good-looking bag.
This guide covers the fabrics, tools, and extra decorations you might want to use. Gather these before you begin your project.
Choosing Fabric
Pick a fabric that is strong and easy to clean. Cotton and canvas are popular choices. They hold weight well and last long.
Look for fabric that feels comfortable to carry. You can also choose patterns or colors that you like.
- Canvas: Durable and sturdy
- Cotton: Lightweight and washable
- Denim: Thick and stylish
- Linen: Breathable and natural
- Recycled fabric: Eco-friendly option
Essential Tools
You will need some basic tools to make your shopper bag. These tools help you cut, sew, and finish your bag well.
- Scissors or rotary cutter for cutting fabric
- Measuring tape or ruler for accuracy
- Pins or clips to hold fabric pieces
- Sewing machine or needle and thread
- Iron to press seams
- Chalk or fabric marker for drawing lines
Optional Embellishments
You can add decorations to make your shopper bag unique. These are not needed but can make your bag look special.
- Buttons for style and closure
- Fabric paint to add designs
- Patches for a fun look
- Ribbon or lace for borders
- Iron-on transfers for logos or images
Credit: www.kimecopak.ca
Preparing The Fabric
Preparing the fabric is the first step in making a shopper bag. It ensures your bag will be strong and look neat.
Take your time to prepare the fabric well. This makes sewing easier and the final bag better.
Measuring And Cutting
Measure your fabric carefully before cutting. Use a ruler or measuring tape for accuracy.
Cut the fabric pieces needed for the bag. Cut slowly and follow your measurements closely.
- Measure twice to avoid mistakes
- Use sharp scissors for clean cuts
- Cut on a flat, clean surface
- Keep fabric flat and smooth while cutting
Marking Seam Allowances
Mark seam allowances on your fabric before sewing. This shows where to sew and fold.
Use fabric chalk or a washable marker to draw the lines. Keep the lines straight and clear.
- Standard seam allowance is usually 1/2 inch
- Mark all edges that will be sewn
- Double-check your marks before sewing
- Use a ruler for straight lines
Sewing The Main Body
Sewing the main body of your shopper bag is an important part. It shapes the bag and holds everything together.
This guide covers stitching the sides and creating the base. Follow each step carefully for a neat finish.
Stitching The Sides
Start by placing the two main fabric pieces right sides together. Align all edges evenly.
- Pin the sides to keep the fabric from moving.
- Sew along the pinned edges with a straight stitch.
- Use a 1/2 inch seam allowance for strong seams.
- Backstitch at the start and end to secure the stitches.
Once sewn, press the seams open with an iron. This step helps the bag sit flat.
Creating The Base
To give your shopper bag a flat bottom, create a boxed base. This makes the bag more spacious.
| Action | Description |
|---|---|
| Pinch Corners | Bring each corner seam together to form a triangle. |
| Mark Seam Line | Draw a line across the triangle about 2 inches from the tip. |
| Sew Across | Stitch along the marked line to create a flat base. |
| Trim Excess | Cut off the triangle tip, leaving 1/4 inch seam allowance. |
Repeat this process for both bottom corners. Press the seams flat for a clean look.

Credit: www.youtube.com
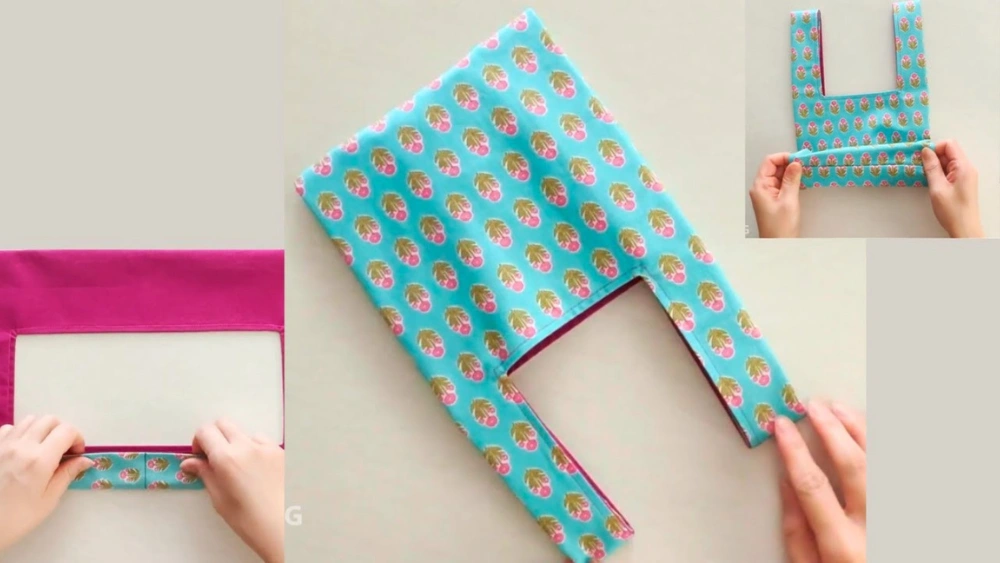
Making The Handles
The handles of a shopper bag are important. They must be strong and comfortable. Let’s look at how to make them.
We will cover cutting the handle strips and attaching them to the bag. This will ensure the handles are secure and easy to carry.
Cutting Handle Strips
First, you need to cut the fabric for the handles. Measure the length you want for your handles. Use a ruler for accuracy.
Cut two strips of fabric. Make sure each strip is the same length and width. This will help your bag look balanced.
- Measure the length of the strips
- Cut two identical fabric strips
- Ensure strips are even and neat
Attaching Handles To Bag
Now it’s time to attach the handles to your bag. Place each strip at the top edge of the bag. Make sure they are equal on both sides.
Sew the ends of each strip onto the bag. Use strong stitches to keep the handles secure. Check that the handles are sturdy before you finish.
- Position strips on the bag’s top edge
- Sew ends securely to the bag
- Test the handle strength
Adding Finishing Touches
Adding finishing touches makes your shopper bag stronger and more useful. Small details improve how long it lasts and how you use it.
Focus on two key areas: reinforcing seams and adding pockets or linings. These steps give your bag a neat, professional look.
Reinforcing Seams
Strong seams keep the bag from tearing when carrying heavy items. Use extra stitches on stress points like handles and the bottom corners.
- Sew double stitches on all seam lines
- Use a backstitch at the start and end of each seam
- Apply fabric glue for added hold on edges
- Consider using a zigzag stitch to prevent fraying
- Trim loose threads to keep seams tidy
Adding Pockets Or Linings
Pockets and linings add function and style. Linings protect your bag’s inside and give it a clean finish. Pockets help keep small items organized.
| Feature | Benefit | Tips |
| Pockets | Store keys, phone, or wallet | Use matching fabric and reinforce edges |
| Linings | Protect outer fabric and hide seams | Choose a smooth, durable fabric like cotton |
| Both | Increase bag durability and style | Sew carefully to avoid bulk at seams |

Credit: www.youtube.com
Customizing Your Tote
Making a shopper bag unique is easy and fun. You can add personal touches to express your style.
Explore simple ideas to paint or decorate your tote. Add patches for a unique look.
Painting And Decorating
Painting your tote bag allows for endless creativity. Use fabric paints for lasting designs.
- Choose colors that match your style.
- Use stencils for neat patterns.
- Try freehand painting for a personal touch.
Personalizing With Patches
Patches are a great way to personalize your tote. They come in various designs and themes.
Consider these patch types:
| Type | Description |
| Iron-On | Easy to apply with heat |
| Sew-On | Durable and secure |
| Velcro | Interchangeable for different looks |
Mix and match patches to create a theme. You can change them to fit your mood or occasion.
Care And Maintenance
Keeping your shopper bag clean and well stored helps it last longer. Good care makes the bag look nice every time you use it.
Simple steps for washing and storing can protect the fabric and shape of your shopper bag.
Washing Tips
Wash your shopper bag gently to avoid damage. Follow these tips for best results.
- Use cold or lukewarm water to keep colors from fading
- Choose a mild detergent to protect the fabric
- Hand wash if possible, instead of using a washing machine
- Rinse thoroughly to remove all soap
- Air dry the bag flat or hang it in a shaded area
Storage Advice
Proper storage keeps your shopper bag in good shape and ready to use.
| Storage Tip | Why It Helps |
| Keep bag dry before storing | Prevents mold and bad smells |
| Store in a cool, dry place | Protects fabric from damage and fading |
| Stuff bag with paper to keep shape | Prevents wrinkles and creases |
| Use a breathable fabric bag for storage | Allows air circulation and keeps dust away |
Frequently Asked Questions
What Materials Are Best For Making A Shopper Bag?
Cotton canvas and sturdy fabrics are best for shopper bags. They offer durability and easy cleaning. Choose eco-friendly options for sustainability and long-lasting use.
How Do I Sew Handles For A Shopper Bag?
Cut handles from matching fabric or webbing. Sew them securely to the bag’s top edge. Reinforce with extra stitches for strength and durability.
Can I Customize The Size Of My Shopper Bag?
Yes, you can easily adjust dimensions. Measure your desired width, height, and depth before cutting fabric. Customize size to fit your shopping needs perfectly.
What Tools Do I Need To Make A Shopper Bag?
You’ll need fabric scissors, sewing machine, pins, measuring tape, and thread. Optional tools include fabric chalk and an iron for neat edges.
Conclusion
Making a shopper bag is simple and fun. You can choose your favorite fabric and colors. Sewing it yourself saves money and helps the environment. A handmade bag is strong and fits your style. Try making one today and enjoy carrying it everywhere.
Crafting gives you a useful item and a sense of pride. Keep practicing, and your skills will grow. Making bags can become a relaxing hobby too. Start small, and soon you’ll create many beautiful bags.