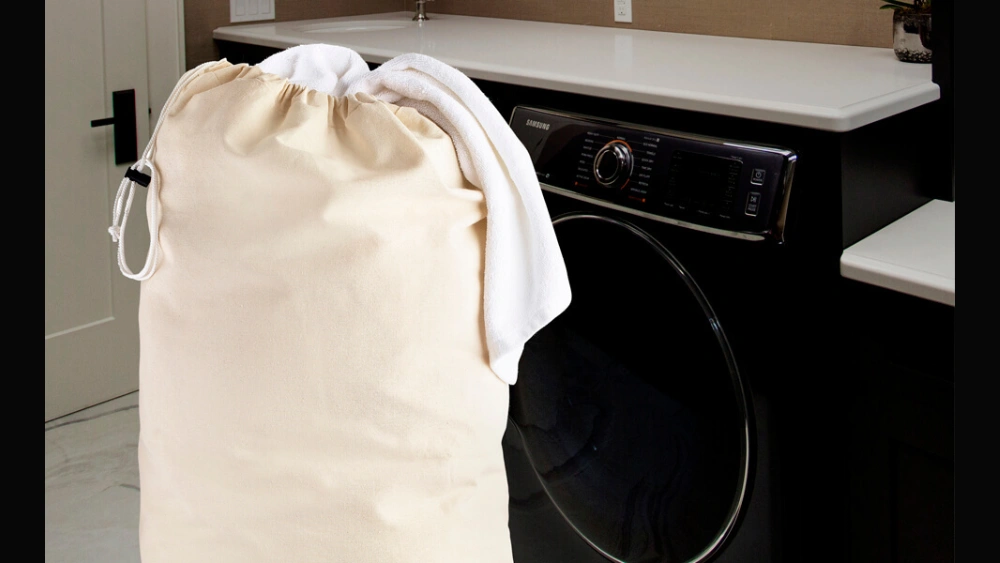
Are you tired of your laundry spilling all over the place or struggling to carry heavy loads? Making your own drawstring laundry bag is easier than you think—and it can save you time, money, and hassle.
Imagine having a simple, sturdy bag that keeps your clothes secure and makes laundry day a breeze. In this guide, you’ll discover step-by-step how to create a drawstring laundry bag that fits your needs perfectly. Ready to take control of your laundry routine?
Let’s get started!
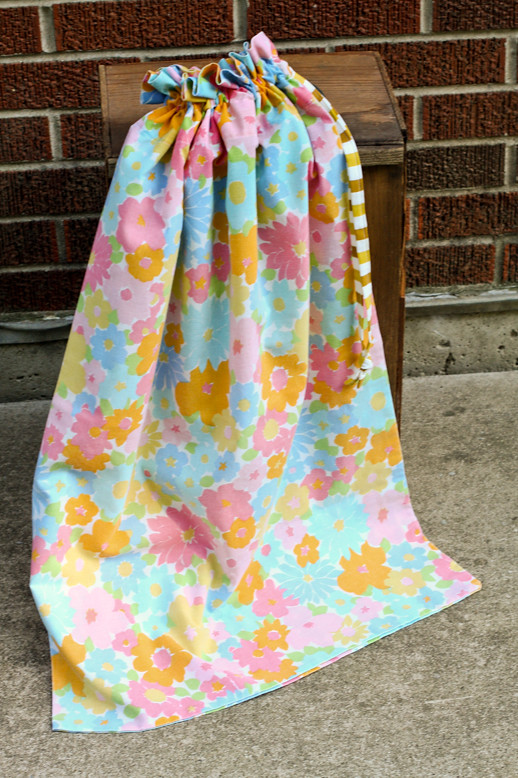
Credit: www.incolororder.com
Materials Needed
Making a drawstring laundry bag is easy and fun. You only need a few materials to get started.
Gather all your supplies before you begin. This will make the sewing process smooth and quick.
Fabric
Choose a strong fabric that can hold your laundry weight. Cotton or canvas works well.
Pick a fabric that is easy to wash and dries fast. Avoid very thin or stretchy materials.
Drawstring Cord
You need a cord to close the bag at the top. Cotton or nylon cords are good choices.
The cord should be long enough to pull tight and tie easily. About twice the bag’s width is enough.
Sewing Thread
Use thread that matches your fabric color. Strong polyester thread lasts longer.
Make sure the thread fits your sewing machine needles if you use one.
Sewing Needles
Use sharp needles for hand sewing or machine sewing. Heavy-duty needles work best for thick fabrics.
Keep extra needles handy in case one breaks or bends.
Measuring Tools
A ruler or measuring tape helps you cut fabric pieces accurately. This keeps your bag neat.
Mark your fabric with fabric chalk or a pencil for clear sewing lines.
Scissors
Use sharp fabric scissors to cut your material cleanly. Avoid dull scissors that can fray fabric edges.
Reserve these scissors only for fabric to keep them sharp longer.
Pins Or Clips
Pins or clips hold fabric pieces together while sewing. This keeps seams straight and even.
Choose clips if you want to avoid holes in delicate fabric.
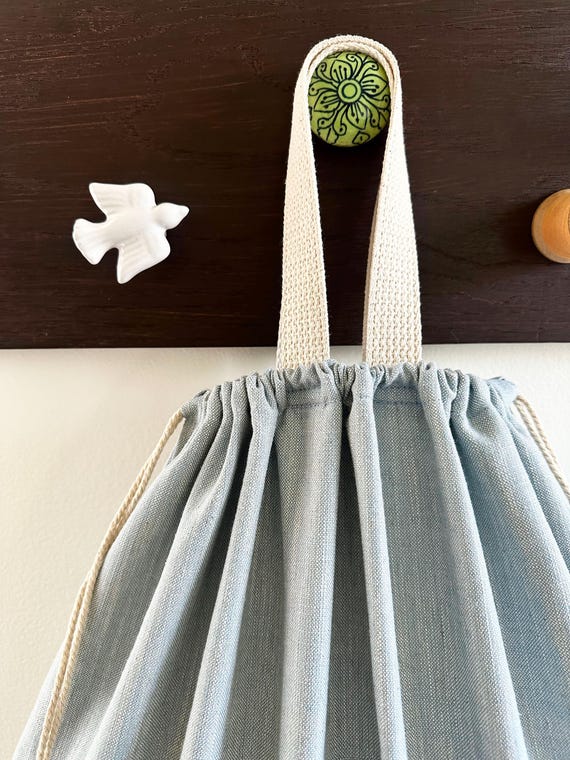
Credit: www.etsy.com
Choosing The Fabric
Picking the right fabric is key for a drawstring laundry bag. The fabric must be strong and easy to clean. It should also allow air to flow to keep clothes fresh.
There are many fabric options. Each has its own benefits and drawbacks. This guide will help you find the best fabric for your bag.
Cotton Fabric
Cotton is soft and natural. It is easy to sew and washable. Cotton lets air flow well, which helps stop smells. It can be plain or patterned.
Canvas Fabric
Canvas is thick and strong. It holds heavy laundry without tearing. This fabric lasts a long time. Canvas can be a bit stiff but is very durable.
Mesh Fabric
Mesh fabric is light and full of holes. It lets air flow easily to stop damp smells. Mesh is perfect for wet clothes or gym laundry. It is not very private though.
Fabric Comparison Chart
| Fabric | Breathability | Durability | Ease of Sewing |
| Cotton | High | Medium | Easy |
| Canvas | Low | High | Medium |
| Mesh | Very High | Low | Hard |
Measuring And Cutting
Measuring and cutting fabric correctly is important for making a drawstring laundry bag. Accurate measurements help the bag fit well and work as expected.
Take your time with this part to avoid mistakes. Use a ruler or tape measure and sharp scissors for clean cuts.
Measure The Fabric Size
Decide how big you want your laundry bag to be. A common size is about 18 inches wide and 24 inches tall.
Measure the fabric with a tape measure or ruler. Add extra inches for seams and the drawstring casing.
- Width: 18 inches plus 1 inch for seams
- Height: 24 inches plus 2 inches for the top casing
Mark The Fabric
Use a fabric marker or chalk to mark your measurements on the fabric. Mark straight lines to guide your cutting.
Double-check your marks before cutting. Make sure the lines are clear and easy to follow.
- Mark width and height on fabric
- Draw lines for seam allowances
- Mark the top edge for the drawstring casing
Cut The Fabric
Cut along the marked lines using sharp fabric scissors. Cut slowly to keep the edges straight.
Keep the fabric flat while cutting to avoid uneven edges. Save the scraps for testing stitches.
Sewing The Main Body
Sewing the main body is an important part of making your drawstring laundry bag. This step connects the fabric pieces to form the bag shape.
You will learn how to sew the sides and bottom of the bag neatly. This creates a strong base for the drawstring.
Prepare Your Fabric Pieces
Start by cutting two pieces of fabric in the size you want for your bag. Make sure both pieces are the same size.
Lay the fabric pieces with the right sides facing each other. This helps hide the seams inside the bag later.
Sew The Side Seams
Use a sewing machine or needle and thread to sew along the two long sides of the fabric. Leave the top open for the drawstring.
- Sew with a ½ inch seam allowance
- Backstitch at the start and end to secure stitches
- Keep stitches straight for a clean finish
Sew The Bottom Seam
Next, sew the bottom edges together to close the bag. Make sure to keep the seam allowance consistent with the sides.
If you want a flat bottom, sew across the bottom corners and trim excess fabric.
- Pin corners before sewing
- Sew a straight line across each corner
- Trim the triangle of fabric to reduce bulk
Finish The Seams
Finish the seams to prevent the fabric from fraying. You can use a zigzag stitch or pinking shears.
Press the seams flat with an iron. This makes the bag look neat and professional.
Creating The Drawstring Channel
Making a drawstring channel is easy. It lets the bag open and close smoothly. Follow these steps to create a neat channel.
Measure And Fold The Top Edge
First, measure the top edge of your fabric. Fold it down twice to create a neat edge for the channel.
- Measure 2 inches from the top edge.
- Fold the edge down 1 inch, then again another inch.
- Pin the fold to secure it in place.
Sew The Channel
Use a sewing machine to stitch along the folded edge. This creates the channel for the drawstring.
Ensure your stitches are straight and even for a professional finish.
Insert The Drawstring
Now, insert the drawstring through the channel. You can use a safety pin to help guide it through.
- Attach a safety pin to one end of the drawstring.
- Push the pin through the channel, pulling the drawstring along.
- Tie knots at each end to prevent fraying.
| Material | Recommended Length |
| Cotton Rope | Twice the bag’s width |
| Nylon Cord | 1.5 times the bag’s width |
| Ribbon | Twice the bag’s width |
Inserting The Drawstring
Inserting a drawstring into your laundry bag is the final step. It helps keep your clothes secure.
Follow these simple steps to easily insert the drawstring. You will soon have a functional laundry bag.
Prepare The Drawstring
First, cut a piece of string or cord. Make sure it is long enough to go around the top of the bag twice.
Thread The Drawstring
Use a safety pin to thread the drawstring through the casing. This makes the process much easier.
- Attach the safety pin to one end of the drawstring.
- Push the pin through the casing, gathering fabric as you go.
- Continue until the pin comes out the other end.
Secure The Ends
After threading, remove the safety pin. Tie the ends of the drawstring in a knot.
For a neat finish, consider using a cord lock. Slide it onto the drawstring and secure it in place.
Test The Drawstring
Finally, pull the drawstring to close the bag. Ensure it tightens smoothly and holds securely.
| Drawstring Material | Durability |
| Cotton | Medium |
| Nylon | High |
| Polyester | High |
Finishing Touches
Finishing touches make your drawstring laundry bag look neat and last longer. These details improve both style and function.
Pay attention to small steps like securing the drawstring and adding reinforcements. These help the bag hold up with use.
Secure The Drawstring Ends
Tie knots at the ends of the drawstring to stop it from slipping out. You can also use fabric glue for extra hold.
- Make a tight knot on each end
- Trim any excess string
- Optional: add a small drop of fabric glue
Add Reinforced Stitching
Reinforce the top edge of the bag with extra stitches. This prevents wear and tear where the drawstring moves.
Use a backstitch or zigzag stitch to strengthen the seam around the drawstring casing.
Iron The Bag Smooth
Use an iron on low heat to press the seams flat. This makes the bag look clean and crisp.
Be careful with the drawstring area to avoid melting or damage.
Add A Label Or Tag
Attach a small label or tag with your name or care instructions. This adds a personal touch.
- Sew a fabric label inside the bag
- Use a fabric marker to write on the bag
- Attach a small tag to the drawstring
Tips For Customization
Making a drawstring laundry bag lets you add your personal style. You can change colors, patterns, and details to fit your needs.
Here are useful tips to help you customize your bag and make it unique.
Pick The Right Fabric
Choose a fabric that matches your lifestyle. Cotton is soft and easy to wash. Canvas is strong and lasts longer. Bright prints add fun and color.
Add Decorative Elements
- Sew on patches or appliques
- Use fabric paint for designs
- Attach buttons or beads
- Try embroidery for a personal touch
Choose A Drawstring Style
You can use different cords for the drawstring. Thin ribbons create a delicate look. Thick ropes make the bag sturdy. Matching colors keep the style simple.
Include Practical Features
| Feature | Benefit |
| Inner Pocket | Keep small items safe |
| Reinforced Bottom | Supports heavy loads |
| Water-Resistant Lining | Protects clothes from moisture |
| Adjustable Drawstring | Fits different bag sizes |
Personalize With Labels
Use custom labels to mark your bag. You can print your name or a fun phrase. Sew or iron the label inside the bag for a neat look.

Credit: shopping.yahoo.com
Frequently Asked Questions
What Materials Are Needed For A Drawstring Laundry Bag?
You need fabric, a drawstring cord, a sewing machine, scissors, pins, and thread. Choose durable, washable fabric for best results.
How Do You Sew A Drawstring Laundry Bag?
Cut fabric, sew sides and bottom, create a casing at the top, and thread the drawstring through the casing.
Can I Customize The Size Of The Laundry Bag?
Yes, measure your laundry needs and cut fabric accordingly. Adjust length and width before sewing.
What Type Of Fabric Works Best For Laundry Bags?
Cotton, canvas, or nylon are durable and washable fabrics. Avoid delicate or stretchy materials for longevity.
Conclusion
Making a drawstring laundry bag is simple and fun. You only need basic materials and a little time. This bag helps keep clothes tidy and easy to carry. You can choose any fabric you like for a personal touch. Plus, sewing it yourself saves money.
Try making one today and enjoy a neat laundry routine. Small projects like this bring big satisfaction. Give it a go!