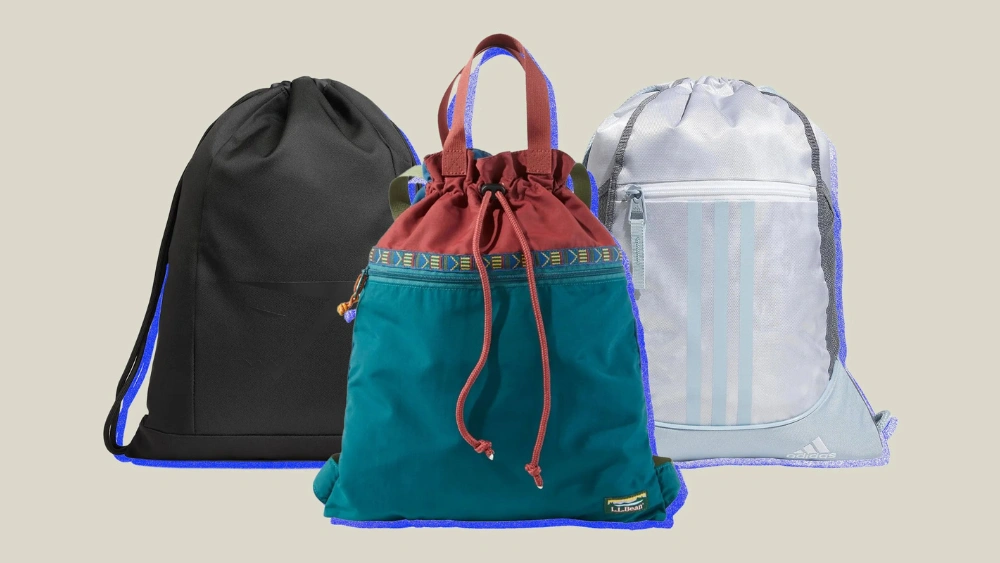
Looking for a simple, stylish bag that you can make yourself? You’re in the right place.
Making a drawstring backpack bag is easier than you think, and it’s a great way to add a personal touch to your daily carry. Imagine having a bag that fits your style perfectly, saves you money, and lets you show off your creativity.
In this guide, you’ll discover step-by-step how to create your own drawstring backpack, even if you have little or no sewing experience. Ready to turn fabric into your new favorite bag? Let’s get started!
Materials Needed
Gathering the right materials makes sewing a drawstring backpack easier. Choose fabrics and tools that match your skill level.
This list covers fabric options, essential tools, and extra accessories that help during the project.
Fabric Choices
Select a fabric that is strong and easy to sew. Cotton and canvas are popular because they hold shape well.
- Lightweight cotton for a soft feel
- Canvas for durability and strength
- Nylon or polyester for water resistance
- Denim for a casual, sturdy look
- Felt for a simple, easy-to-handle fabric
Essential Tools
| Tool | Purpose |
|---|---|
| Fabric scissors | Cut fabric cleanly without fraying |
| Measuring tape | Measure fabric and drawstring length |
| Sewing machine | Stitch fabric pieces together quickly |
| Pins or clips | Hold fabric layers in place while sewing |
| Seam ripper | Remove stitches if needed |
| Iron and ironing board | Press seams flat for neat sewing |
Optional Accessories
Adding some accessories can improve the bag’s look and function. These are not needed but helpful.
- Drawstring cord or ribbon for the backpack strings
- Grommets or eyelets for smooth cord openings
- Fabric glue for extra hold on edges
- Decorative patches or fabric paint to personalize
- Heavy-duty thread for stronger seams
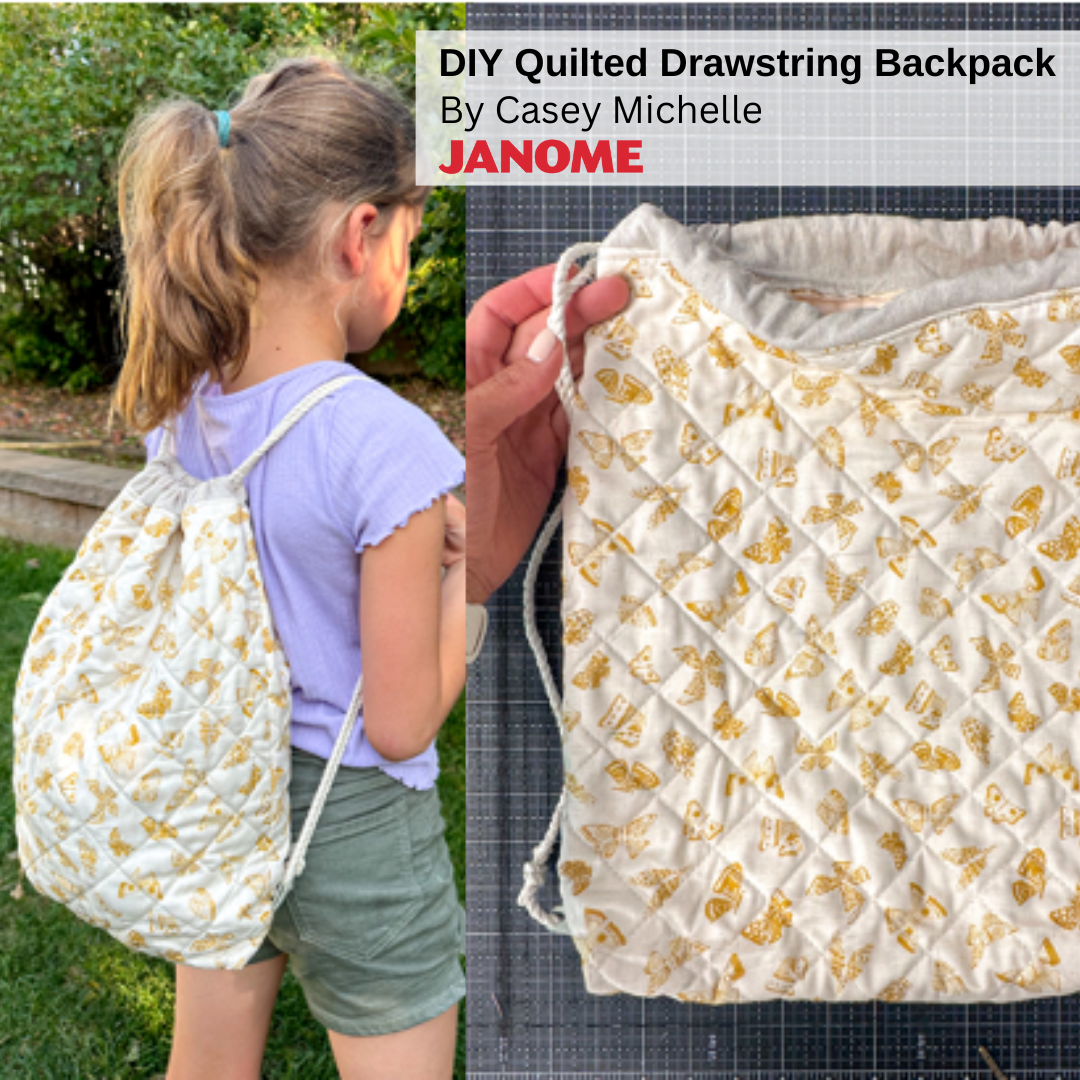
Credit: www.janome.com
Preparing The Fabric
Preparing the fabric correctly is important for a neat drawstring backpack. This step makes sewing easier and the final bag stronger.
In this section, you will learn how to measure and cut the fabric. Then, you will mark the stitch lines to guide your sewing.
Measuring And Cutting
Measure the fabric pieces carefully before cutting. Use a ruler and fabric chalk for accuracy. Cut straight lines to keep the pieces even.
- Measure two rectangles for the main bag body, about 16 inches by 18 inches each.
- Cut two smaller rectangles for the front pocket, about 10 inches by 12 inches each.
- Cut two strips for the drawstring casing, about 3 inches by 20 inches each.
- Use sharp fabric scissors to cut all pieces cleanly.
Marking Stitch Lines
Mark stitch lines on each fabric piece to help guide sewing. Use a washable fabric marker or tailor’s chalk.
| Fabric Piece | Stitch Line Detail | Marking Method |
|---|---|---|
| Main Bag Body | Mark 1/2 inch seam allowance around all edges | Tailor’s chalk with ruler |
| Front Pocket | Mark top edge for folding and stitching | Washable fabric marker |
| Drawstring Casing | Mark fold lines and stitch lines 1/4 inch from edges | Tailor’s chalk |
Sewing The Main Body
Making a drawstring backpack bag is a fun project. The main body is key to your bag’s structure.
Let’s focus on the important steps. We will join the fabric pieces and create seams.
Joining Fabric Pieces
Start by laying out your fabric pieces. Make sure the right sides face each other.
Pin the edges together to keep them aligned. This helps in sewing straight lines.
- Align the edges carefully
- Use pins to secure the fabric
- Check the alignment before sewing
Creating Seams
Now, sew along the pinned edges. This forms the seams of your backpack.
Use a straight stitch for strong seams. Backstitch at the start and end to secure.
- Sew using a straight stitch
- Backstitch at the start
- Backstitch at the end

Credit: www.youtube.com
Adding The Drawstring Channel
Creating a drawstring channel is an essential step in making your backpack bag. It allows you to close and open the bag easily.
Follow the steps below to ensure your drawstring channel is neat and functional.
Folding And Pinning
Start by folding the top edge of your fabric. This creates a neat finish for the drawstring channel.
- Fold the fabric edge down by one inch.
- Pin it securely in place to prevent shifting.
- Ensure the fold is even across the entire edge.
Stitching The Channel
Once pinned, it’s time to stitch the channel. This step secures the fold and forms the path for the drawstring.
Use a straight stitch along the bottom of the fold. Keep your stitches even and straight for the best results.
Inserting The Drawstring
Adding the drawstring is a key step in making a drawstring backpack bag. It lets you open and close the bag easily.
This part needs care to make sure the string works well and looks neat.
Choosing The Drawstring
Pick a drawstring that is strong and smooth. It should fit the bag’s holes without fraying.
Choose a string that is about twice as long as the bag’s height. This length helps the bag close tightly.
- Cotton cords are soft and easy to tie
- Nylon ropes are strong and resist water
- Polyester cords last long and keep color well
- Make sure the string fits the bag’s eyelets
Threading Techniques
Threading the drawstring can be simple with the right tool. A safety pin works well to pull the string through the bag.
Start at one corner and guide the string around the edges inside the channel. This makes the bag close evenly.
- Attach a safety pin to one end of the string
- Push the pin through the fabric channel slowly
- Pull the string all the way through the channel
- Repeat on the other side if the bag has two channels
- Tie knots at the ends to keep the string from slipping
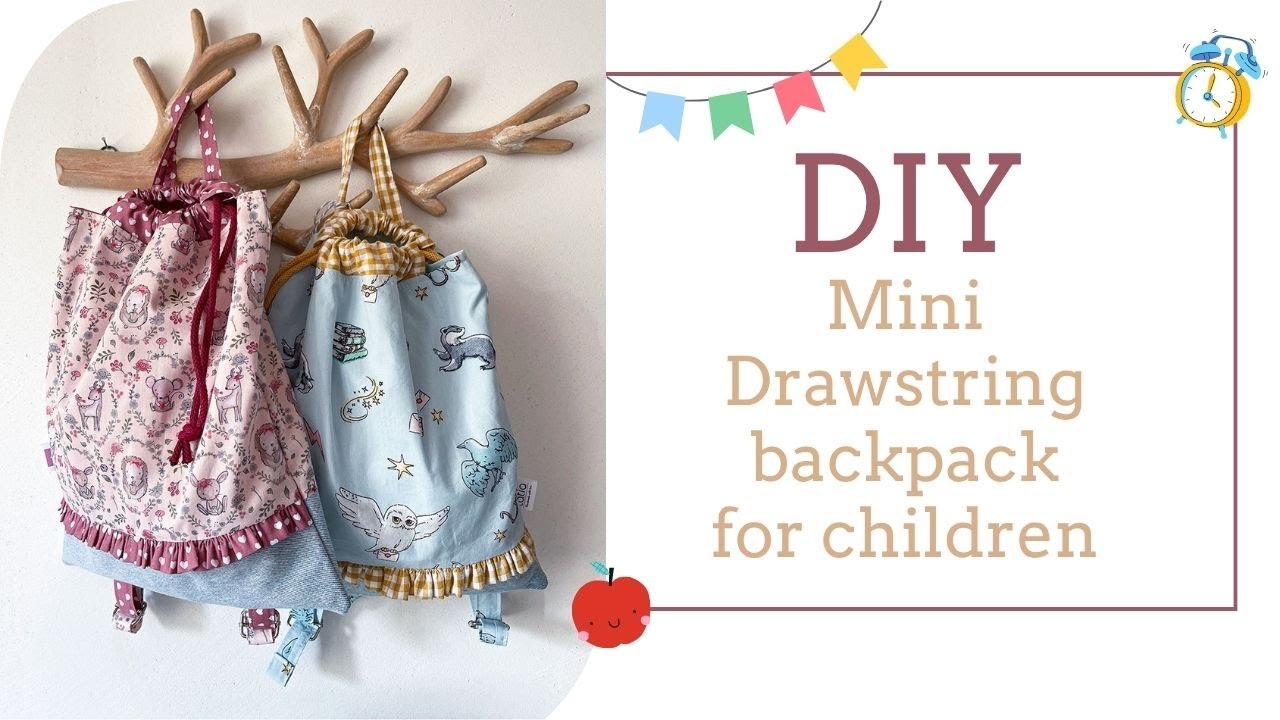
Credit: www.youtube.com
Finishing Touches
Finishing touches add both function and style to your drawstring backpack bag. These final steps make your bag durable and unique.
Focus on securing the drawstring ends and adding decorations to personalize your creation. These simple ideas help your bag last longer and look great.
Securing The Drawstring Ends
Secure the drawstring ends to prevent fraying and slipping. Use one of the following methods for a neat finish.
- Apply a small amount of fabric glue or clear nail polish to the cut ends.
- Wrap the ends tightly with thin thread or embroidery floss and knot it securely.
- Use heat shrink tubing or plastic tips designed for cords, if available.
- Tie a small knot at each end to keep the string from pulling through the eyelets.
Optional Decorations
Add decorations to make your drawstring backpack stand out. Choose simple accessories that fit your style and keep the bag lightweight.
| Decoration | Description |
|---|---|
| Iron-on patches | Add fun shapes or logos with easy iron-on patches. |
| Fabric paint | Create custom designs using fabric paint pens or brushes. |
| Beads on drawstrings | Slide beads onto the drawstring for a colorful touch. |
| Ribbon bows | Tie small bows at the ends of the strings for decoration. |
Tips For Customization
Making a drawstring backpack bag lets you add your own style. Customizing your bag makes it unique and useful.
Try different ideas to fit your needs and taste. Small changes can make a big difference in your bag’s look and function.
Using Different Fabrics
Choose fabrics that match your bag’s use and style. Lightweight cotton is easy to sew and clean. Canvas is strong and lasts longer.
Mix fabrics for a cool look. Use waterproof material for rainy days. Soft fabrics give a casual feel.
- Cotton: light and easy to sew
- Canvas: durable and strong
- Nylon: water-resistant and smooth
- Felt: soft and colorful
Adding Pockets
Pockets add space to keep small items safe. Add a front pocket for quick access to your phone or keys. Inside pockets keep things organized.
Use zippers or buttons to close pockets. Sew pockets in different sizes to hold different items.
- Front pocket for easy reach
- Inside pocket for small items
- Zipper or button closure
- Multiple sizes for different needs
Personalizing With Prints
Add prints to show your personality. Use fabric paint or stamps to create designs. Iron-on patches add color and style quickly.
Choose simple shapes or words that mean something to you. Make your bag stand out with your own art.
- Fabric paint for custom designs
- Stamps for repeat patterns
- Iron-on patches for quick style
- Simple shapes or meaningful words
Care And Maintenance
Taking care of your drawstring backpack bag keeps it looking good. Proper care helps the bag last longer.
Follow simple steps to wash and store your bag safely. This prevents damage and wear over time.
Washing Instructions
Clean your drawstring backpack regularly but gently. Use mild soap and cold water to avoid shrinking.
- Empty all pockets and shake out dirt.
- Hand wash with mild detergent and cold water.
- Use a soft brush for stains, gently scrubbing.
- Rinse thoroughly to remove soap.
- Air dry the bag by hanging it in shade.
Storage Advice
Store your drawstring backpack in a dry place. Avoid folding it tightly to keep its shape.
| Storage Tip | Reason |
|---|---|
| Keep away from direct sunlight | Prevents color fading and material damage |
| Store in a cool, dry area | Stops mold and mildew growth |
| Hang or place flat | Maintains bag shape and avoids creases |
| Do not overstuff during storage | Prevents stretching and weakening of fabric |
Frequently Asked Questions
What Materials Do I Need For A Drawstring Backpack?
You need fabric, drawstring cords, scissors, sewing machine, and pins. Choose durable fabric like canvas or cotton for strength and style.
How Do I Sew The Drawstring Bag Securely?
Fold the fabric, sew three sides leaving the top open. Attach the drawstring through the top hem for closure.
Can I Customize My Drawstring Backpack Design?
Yes, personalize with fabric paint, patches, or embroidery. Custom designs make your backpack unique and stylish.
How Long Does It Take To Make A Drawstring Bag?
It usually takes 1 to 2 hours. Time varies based on your sewing skills and design complexity.
Conclusion
Making a drawstring backpack is simple and fun. You only need a few materials and some basic steps. This project lets you create a bag that fits your style and needs. It saves money and helps you learn new skills.
Plus, you get a useful item for school, sports, or travel. Try different fabrics and colors to make it unique. Keep practicing to improve your sewing. Enjoy carrying a bag you made yourself. Small projects like this bring big satisfaction.
Give it a try today!