
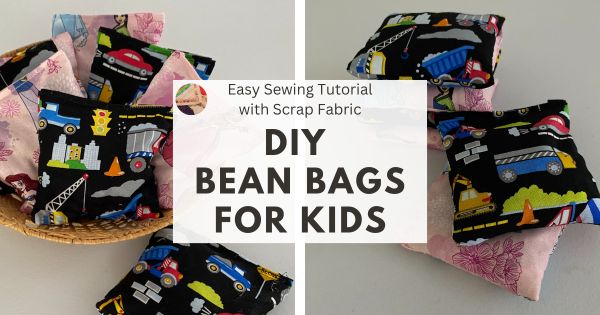
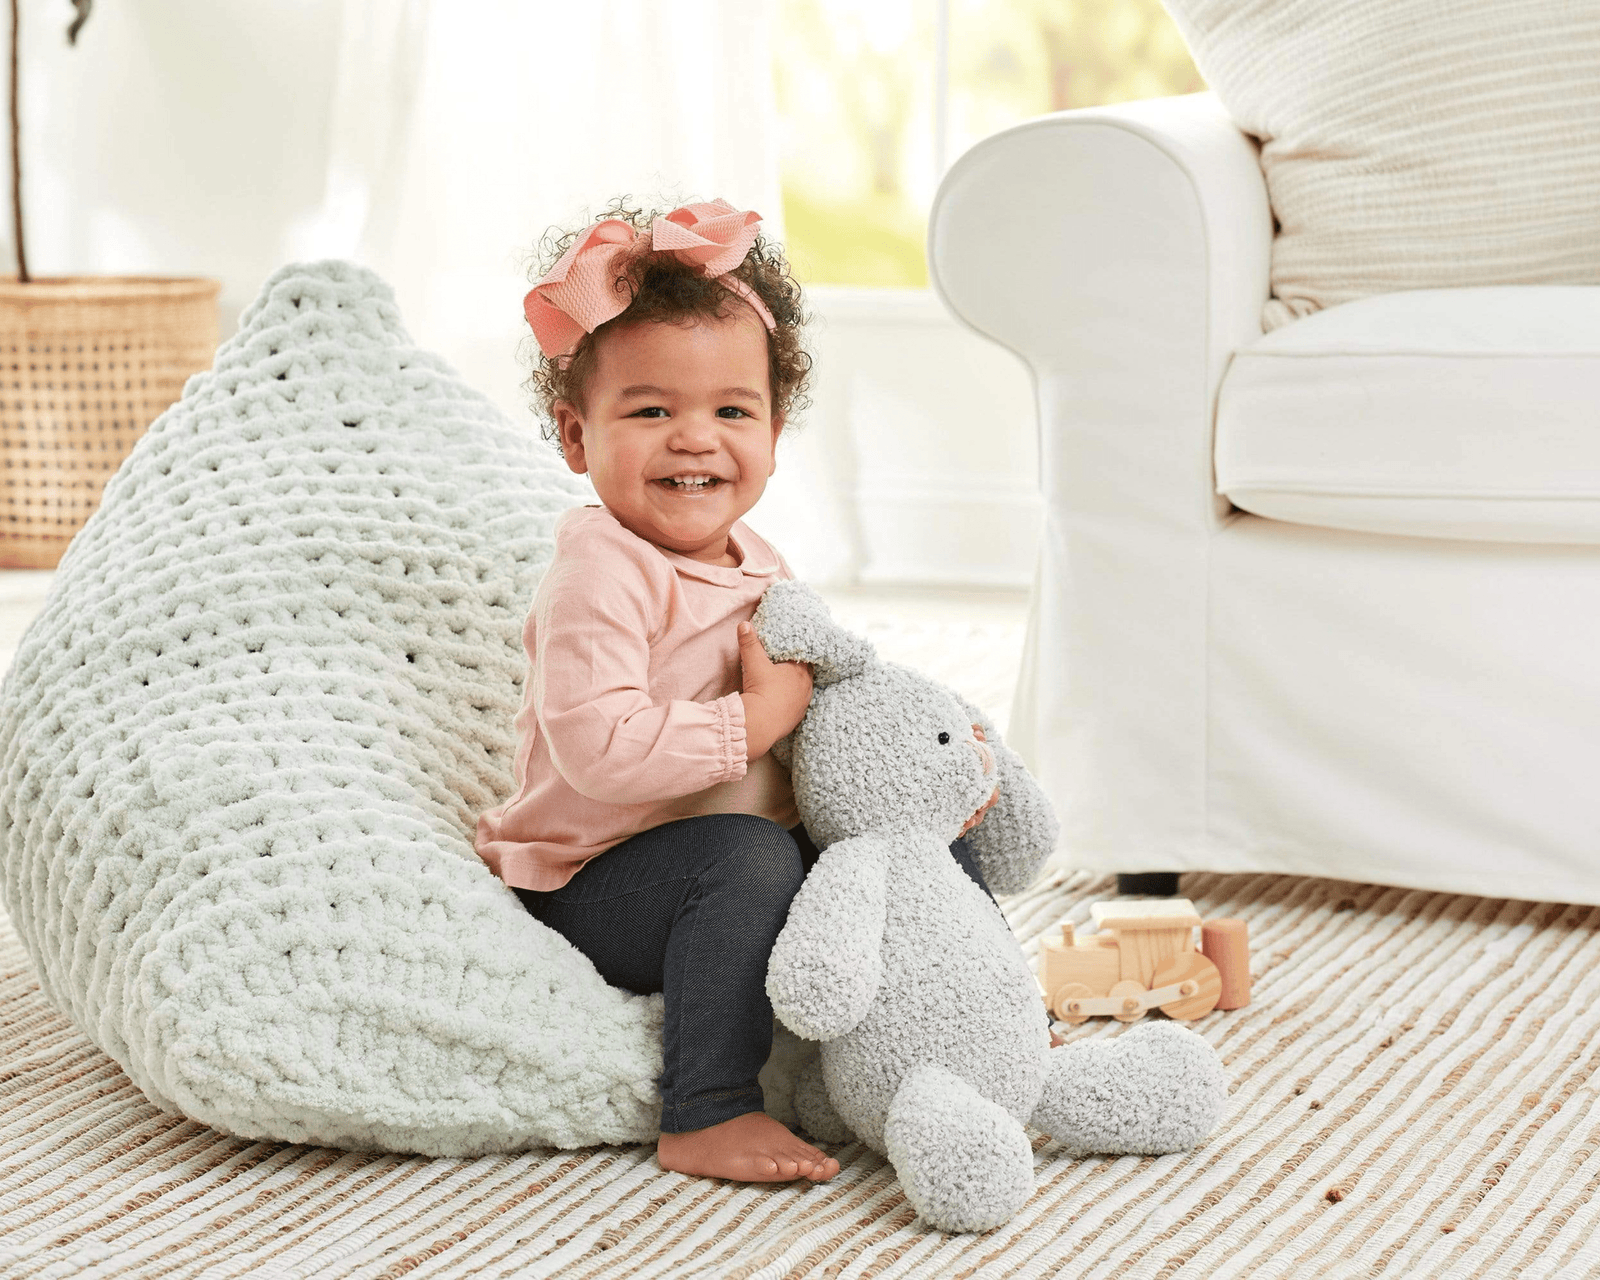
Looking for a fun and cozy addition to your child’s room? Making a bean bag yourself is easier than you might think, and it lets you create a comfy spot that’s just right for your little one.
Imagine your child sinking into a soft, colorful bean bag you made with your own hands. In this guide, you’ll discover simple steps, helpful tips, and creative ideas to craft the perfect bean bag that your child will love. Ready to get started?
Let’s make something special together!
Credit: www.needlepointers.com
Materials Needed
Making a child’s bean bag is a fun and simple project. You need the right materials to create a safe and comfy seat.
This guide covers the fabric, stuffing, and tools you will need for the job.
Fabric Choices
Choose fabric that is soft, durable, and easy to clean. The fabric should feel comfortable for a child to sit on.
- Cotton: Soft and breathable, good for indoor use
- Faux leather: Easy to wipe clean, strong and durable
- Microfiber: Smooth texture, resists stains
- Canvas: Thick and tough, holds shape well
- Outdoor fabric: Water-resistant, perfect for outside use
Stuffing Options
The stuffing makes the bean bag comfortable and supportive. Pick a filling that is safe and fits the size of your bean bag.
- Polystyrene beads: Lightweight and molds easily
- Foam chunks: Offers firm support, holds shape longer
- Recycled foam: Eco-friendly and soft
- Natural fillings: Such as buckwheat hulls, for a firmer feel
- Old clothes or fabric scraps: Budget-friendly and soft
Tools Required
You need some basic tools to sew and assemble the bean bag. Make sure your tools are ready before starting.
- Sewing machine or needle and thread
- Measuring tape to get accurate sizes
- Fabric scissors for cutting the fabric
- Pins to hold fabric pieces together
- Marker or chalk for marking fabric
- Zipper or Velcro for the opening
- Stuffing funnel or scoop for filling the bag
Preparing The Fabric
Getting the fabric ready is an important part of making a child’s bean bag. The right fabric makes the bean bag safe and comfortable for children.
Before you start sewing, you must prepare the fabric carefully. This step helps to avoid problems later on.
Measuring And Cutting
Measure the fabric to fit the size of the bean bag you want. Use a tape measure for accuracy.
Cut the fabric with sharp scissors or a rotary cutter. Cut slowly to keep the edges even.
- Measure twice before cutting
- Leave extra fabric for seams
- Cut on a flat surface
- Use pins to hold fabric layers together
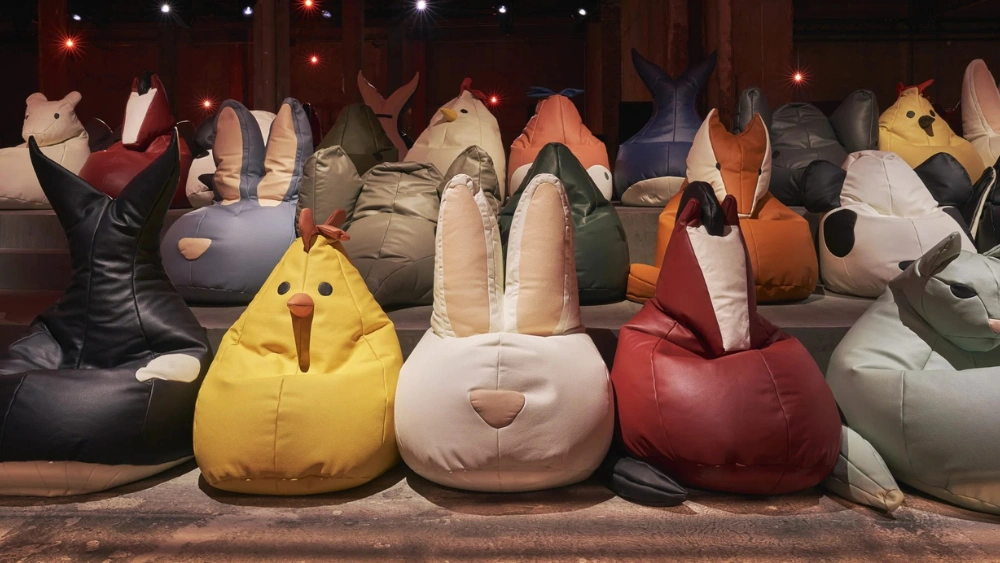
Choosing The Right Shape
Pick a shape that is easy to sew and comfortable to sit on. Common shapes include round, square, and teardrop.
Each shape needs different fabric pieces. Choose one that fits your sewing skills and space for the bean bag.
- Round shapes need two large circles
- Square shapes require four equal squares
- Teardrop shapes use front, back, and side pieces
- Simple shapes are best for beginners
Sewing The Bean Bag
Sewing a child’s bean bag is an easy and fun project. It helps create a soft, cozy seat for kids.
Good sewing makes the bean bag strong and safe. This guide focuses on sewing tips for best results.
Basic Stitching Techniques
Start with straight stitches to join fabric pieces. Keep stitches even and tight to hold fabric well.
Backstitch at the start and end of each seam. This stops threads from coming loose over time.
- Use a sewing machine for faster stitching
- Choose a stitch length of about 2.5 mm
- Pin fabric pieces before sewing to keep them aligned
Creating A Durable Seam
Use strong thread like polyester for durable seams. It holds up well under pressure and use.
Sew with double seams or reinforce stress points. This prevents tearing when the bean bag is used.
- Sew two rows of stitches parallel to each other
- Use a zigzag stitch on raw edges to stop fraying
- Double stitch corners and openings for extra strength
Filling The Bean Bag
Filling a child’s bean bag is an important step for comfort and safety. Using the right filler helps the bean bag keep its shape and feel soft.
This guide covers how to pick safe fillers and how to stuff the bean bag evenly for the best result.
Choosing Safe Fillers
Always pick fillers that are safe for children. Avoid fillers that could cause allergies or are harmful if swallowed.
- Polystyrene beads: Lightweight and soft, but check for child safety labels.
- Memory foam pieces: Provide extra comfort but can be heavier.
- Natural fillers like dried beans or rice: Use only if sealed tightly to prevent spills.
- Polyester fiberfill: Soft and hypoallergenic, easy to clean.
- Avoid fillers with sharp edges or toxic materials.
How To Stuff Evenly
Stuffing the bean bag evenly helps it keep shape and feel comfortable. Follow these tips to fill it right.
- Fill the bean bag halfway first for easier shaping.
- Shake the bag gently to spread the filler evenly.
- Add more filler little by little until full.
- Check all corners to make sure they are filled well.
- Close the bag securely to keep the filler inside.
| Tip | Reason |
| Fill halfway initially | Makes it easier to shape and adjust filler |
| Shake gently | Prevents lumps and empty spots |
| Add filler gradually | Helps control firmness and comfort |
| Check corners | Ensures full support and shape |
| Secure closure | Keeps filler safe inside the bag |
Finishing Touches
After filling the bean bag, the last steps make it safe and attractive. These finishing touches keep the filling inside and add style to the bean bag.
Paying attention to these details improves the bean bag’s look and durability. Let’s look at sealing the opening and adding decorations.
Sealing The Opening
To keep the beans inside, close the opening tightly. Choose a method that matches your sewing skills and the bean bag fabric.
- Sew the opening shut with a strong needle and thread.
- Use a zipper if you want to remove the filling later.
- Try Velcro strips for easy opening and closing.
- Double stitch the seams for extra strength.
Adding Decorative Elements
Decorate your child’s bean bag to make it fun and personal. Use safe materials and simple designs.
| Decoration Type | Materials Needed | Tips |
|---|---|---|
| Fabric Paint | Non-toxic fabric paint, brushes | Let dry fully before use |
| Patches | Iron-on patches, iron | Place on smooth surfaces |
| Buttons | Large, safe buttons, needle, thread | Sew tightly to avoid choking hazard |
| Appliqué | Colored fabric pieces, sewing kit | Use soft fabrics |
Credit: www.premieryarns.com
Safety Tips
Making a bean bag for a child requires special attention to safety. You need to ensure it is both fun and safe for kids.
Follow these guidelines to create a secure and comfortable bean bag for your little ones.
Child-friendly Materials
Choosing the right materials is crucial for child safety. Materials should be non-toxic and durable.
- Use natural fabrics like cotton or linen
- Ensure the fabric is free from harmful chemicals
- Choose a fabric that is easy to clean
Avoiding Choking Hazards
Choking hazards are a major concern when making a bean bag for children. Proper measures can prevent accidents.
| Hazard | Solution |
| Loose beads | Use a double zipper |
| Small parts | Avoid detachable accessories |
| Torn seams | Double stitch the seams |
Maintenance And Care
Keeping a child’s bean bag clean and in good shape is important. It ensures the bean bag lasts a long time and stays comfortable.
With proper care, you can maintain its appearance and function. Follow these simple steps to take care of your child’s bean bag.
Cleaning Instructions
Regular cleaning keeps a bean bag looking fresh. It also helps remove dirt and stains.
Check the care label for washing guidelines. Use a mild detergent and cold water for cleaning.
- Remove the outer cover if possible.
- Machine wash the cover on a gentle cycle.
- Air dry the cover to prevent shrinking.
- Spot clean stains with a damp cloth.
Repairing Small Damages
Small damages can occur over time. Fixing them quickly prevents bigger problems.
Use simple tools and materials to repair small tears or holes. This keeps the bean bag in good condition.
- Use a needle and thread to sew small tears.
- Patch holes with fabric glue and a fabric patch.
- Check seams regularly for signs of wear.
- Replace broken zippers or loose stitches.

Credit: www.youtube.com
Frequently Asked Questions
What Materials Are Needed To Make A Child’s Bean Bag?
To make a child’s bean bag, you need fabric, bean bag filler, a zipper, scissors, and a sewing machine. Choose soft, durable fabric for comfort and safety. Bean bag filler typically includes polystyrene beads or foam.
How Do You Sew A Bean Bag For Kids Safely?
Sew the bean bag with strong, even stitches to prevent leaks. Use a zipper for easy filling and cleaning. Ensure no sharp edges or loose threads are present to keep it child-safe.
What Size Is Ideal For A Child’s Bean Bag?
An ideal child’s bean bag size ranges from 24 to 30 inches in diameter. This size supports comfortable seating and is easy for kids to move around.
How Do You Fill A Child’s Bean Bag Properly?
Fill the bean bag with lightweight polystyrene beads or foam pellets. Fill it about 75-85% full for comfort and shape retention. Avoid overfilling to maintain flexibility.
Conclusion
Making a child’s bean bag is simple and fun. You only need a few materials and some basic steps. This project lets you create a cozy, colorful seat for your child. Plus, you can choose patterns and colors they like.
It also teaches kids about crafting and creativity. Try this easy project and enjoy the comfort it brings. A homemade bean bag adds joy to any room. Give it a go and see the happy smiles!


