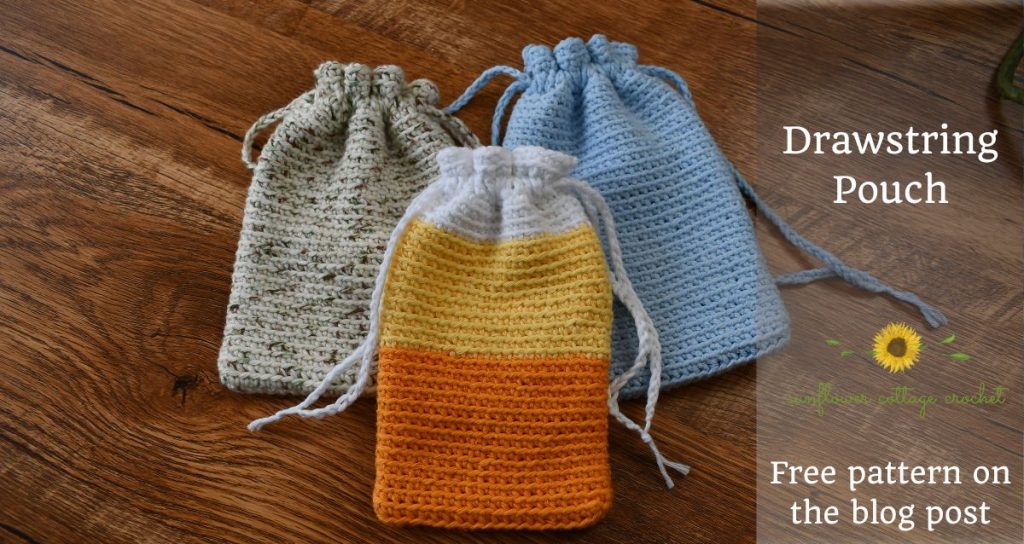
Have you ever wanted a cute, handy bag that you can make yourself? Learning how to crochet a small drawstring bag is easier than you think.
Imagine carrying something unique, made by your own hands, that fits your essentials perfectly. This simple project not only saves you money but also gives you a sense of pride and creativity. Keep reading, and you’ll discover step-by-step instructions that anyone can follow, no matter your skill level.
By the end, you’ll have a stylish, functional drawstring bag ready to use or gift. Ready to create something special? Let’s get started!
Materials Needed
To crochet a small drawstring bag, you need a few basic materials. These items help you create a strong and pretty bag.
Choosing the right materials makes your project easier and more enjoyable. Let’s look at what you need.
Choosing Yarn And Hook
Select yarn that is soft but firm enough to hold the bag’s shape. Cotton yarn works great because it is strong and easy to clean.
Pick a crochet hook size that matches your yarn weight. This helps keep your stitches even and your bag sturdy.
- Use medium-weight cotton yarn (worsted weight)
- Try a 4 mm or 5 mm crochet hook
- A smaller hook makes tight stitches
- A larger hook creates a looser fabric
Additional Supplies
You also need some extra tools to finish your bag. These make your work neat and help with the drawstring.
- Scissors for cutting yarn
- Tapestry needle for weaving ends
- Measuring tape to check size
- Drawstring cord or matching yarn for the closure
- Stitch markers to keep track of rounds
Basic Crochet Stitches
Crocheting a small drawstring bag starts with learning some basic stitches. These stitches form the foundation of your project.
Understanding these stitches helps you create neat and strong fabric for your bag.
Chain Stitch
The chain stitch is the first stitch you learn in crochet. It makes the base for most projects.
To make a chain stitch, you loop the yarn over the hook and pull it through the loop on the hook.
- Start with a slip knot on your hook
- Yarn over the hook
- Pull yarn through the loop on the hook
- Repeat to make a chain of desired length
Single Crochet
Single crochet is a simple stitch that creates a tight fabric. It is great for bags because it is strong.
To make a single crochet, insert the hook into the stitch, yarn over, and pull through. Then yarn over and pull through two loops.
- Insert hook into stitch
- Yarn over and pull through stitch
- Yarn over again and pull through two loops
- This completes one single crochet stitch
Slip Stitch
Slip stitch is used to join parts or move the yarn without adding height. It creates a flat, tight join.
To make a slip stitch, insert the hook into the stitch, yarn over, and pull through both the stitch and the loop on the hook.
- Insert hook into stitch
- Yarn over and pull through stitch and loop on hook
- Use slip stitch to join rounds or move yarn
Starting The Bag Base
To begin crocheting a small drawstring bag, you start with the base. The base forms the bottom part of the bag. It gives shape and stability.
This guide covers creating a foundation chain and working in the round. These steps help you make a strong, even base.
Creating A Foundation Chain
The foundation chain is the first row of loops on your crochet hook. It sets the width of the bag base. Use a yarn and hook that match your project.
- Make a slip knot to start on your hook.
- Yarn over and pull through the loop to create chains.
- Count chains carefully to get the right length.
- A longer chain makes a wider bag base.
- Keep chain tension even for a neat look.
Working In The Round
Working in the round means crocheting in a circle. This shape helps form the bag’s bottom without seams. You join the ends of the foundation chain with a slip stitch.
| Round Step | Action | Tip |
| 1 | Join chain ends with a slip stitch to make a ring. | Make sure the chain is not twisted. |
| 2 | Work single crochet stitches evenly around the ring. | Count stitches to keep base even. |
| 3 | Use increases by adding two stitches in one stitch to widen base. | Space increases evenly for a round shape. |
Building The Bag Body
Creating the body of a small drawstring bag starts with a simple crochet base. You will work even rows to build height and width.
Pay attention to your stitch tension and row count. These affect the bag’s size and shape.
Crocheting Even Rows
Work the same number of stitches in each row to keep edges straight. This helps the bag look neat.
Count your stitches at the end of each row. Fix any mistakes before moving on.
- Use a stitch marker to mark the first stitch
- Keep your tension consistent throughout
- Turn your work at the end of each row
- Check stitch count regularly
Maintaining Shape
Keep the bag’s shape by avoiding loose stitches. Tight stitches help the bag hold its form.
Block the bag body if needed. This means wetting and shaping it to dry flat and even.
- Use consistent stitch size
- Avoid stretching the fabric
- Block the piece gently after finishing
- Check the bag’s dimensions often
Forming The Drawstring Casing
Creating a drawstring casing in your crochet bag is easy. You need to form eyelets and add rows for the casing. Let’s see how to do this.
The drawstring casing allows the bag to close securely. Follow these steps to make your bag functional and stylish.
Creating Eyelets
Eyelets are small holes where the drawstring goes. You can make them with simple crochet stitches.
- Chain a few stitches, skip the same number of stitches in the row.
- Continue with your pattern until you reach the end of the row.
- Repeat this process until you have the desired number of eyelets.
Adding The Casing Rows
After making the eyelets, you need to add rows to complete the casing. This part holds the drawstring in place.
Here is a simple way to add casing rows:
- Work single crochet stitches across the eyelet row.
- Repeat this for about three more rows.
- Ensure the casing is snug but not too tight.

Credit: www.youtube.com
Making The Drawstring
The drawstring is a key part of a small crocheted bag. It keeps the bag closed and adds style. You can make a simple chain drawstring with basic crochet stitches.
This guide shows how to crochet the chain drawstring and add finishing touches. Follow these steps to complete your bag.
Crocheting A Chain Drawstring
Start by making a slip knot on your hook. Then crochet a chain that is twice the width of your bag’s opening. This will give enough length to pull the bag closed.
- Hold the yarn and hook comfortably.
- Yarn over the hook and pull through the loop.
- Repeat to create a chain the desired length.
- Check the chain length against the bag opening.
- Fasten off and leave a tail to weave in later.
Finishing Touches
After making the drawstring, weave it through the top row of stitches on the bag. This step is important for a neat look and easy closure.
| Finishing Step | Details |
| Weaving | Thread the drawstring through each stitch at the bag’s opening. |
| Tying Ends | Knot the drawstring ends to stop slipping. |
| Trimming | Cut off any excess yarn neatly. |
| Optional | Add beads or tassels for decoration. |
Assembling The Bag
Creating a small drawstring bag with crochet is fun. Let’s learn how to put it all together.
After crocheting the pieces, you need to assemble them. This will form your bag’s shape and function.
Inserting The Drawstring
The drawstring makes the bag easy to open and close. It’s a vital part of your crochet bag.
Use a large eye needle to thread the drawstring. Pass it through the top loops of the bag.
- Cut the drawstring to your desired length.
- Thread it through the loops evenly.
- Tie the ends to secure the string.
Final Adjustments
Check your bag for any loose ends or tight stitches. These can affect the final look and use of your bag.
Adjust the drawstring as needed. Make sure it opens and closes smoothly.
- Trim any excess yarn.
- Ensure the bag is symmetrical.
- Smooth out any bumps or uneven parts.
Customizing Your Bag
Customizing your small drawstring bag makes it unique and personal. You can change colors, add patterns, or decorate it with fun items.
These simple touches help your bag stand out and reflect your style. Let’s explore some easy ways to do this.
Adding Colors And Patterns
Use different yarn colors to create stripes or shapes. You can switch colors every few rows or crochet shapes onto the bag.
- Choose two or more yarn colors you like.
- Change colors after a few stitches or rows.
- Try simple patterns like stripes or polka dots.
- Use crochet stitches to add texture and shapes.
- Plan your color changes before you start crocheting.
Attaching Embellishments
Adding buttons, beads, or patches can make your bag special. You can sew or glue these decorations onto the finished bag.
| Embellishment | How to Attach | Effect |
| Buttons | Sew with needle and thread | Add charm and function |
| Beads | Thread onto yarn before crocheting | Create sparkle and detail |
| Fabric patches | Sew or glue on surface | Add color and texture |
| Ribbons | Tie or sew around top | Enhance drawstring look |
Care And Maintenance
Crocheted small drawstring bags need gentle care. Proper maintenance helps keep them strong and pretty.
Following simple care tips will make your bag last longer and stay clean.
Washing Tips
Wash your crocheted bag by hand to avoid damage. Use cool water and mild soap only.
Do not twist or wring the bag. Gently press water out instead to keep its shape.
- Fill a basin with cool water and mild detergent
- Soak the bag for a few minutes
- Gently rub dirty spots with fingers
- Rinse with cool water until soap is gone
- Press water out gently without wringing
- Lay flat on a towel to air dry
Storage Suggestions
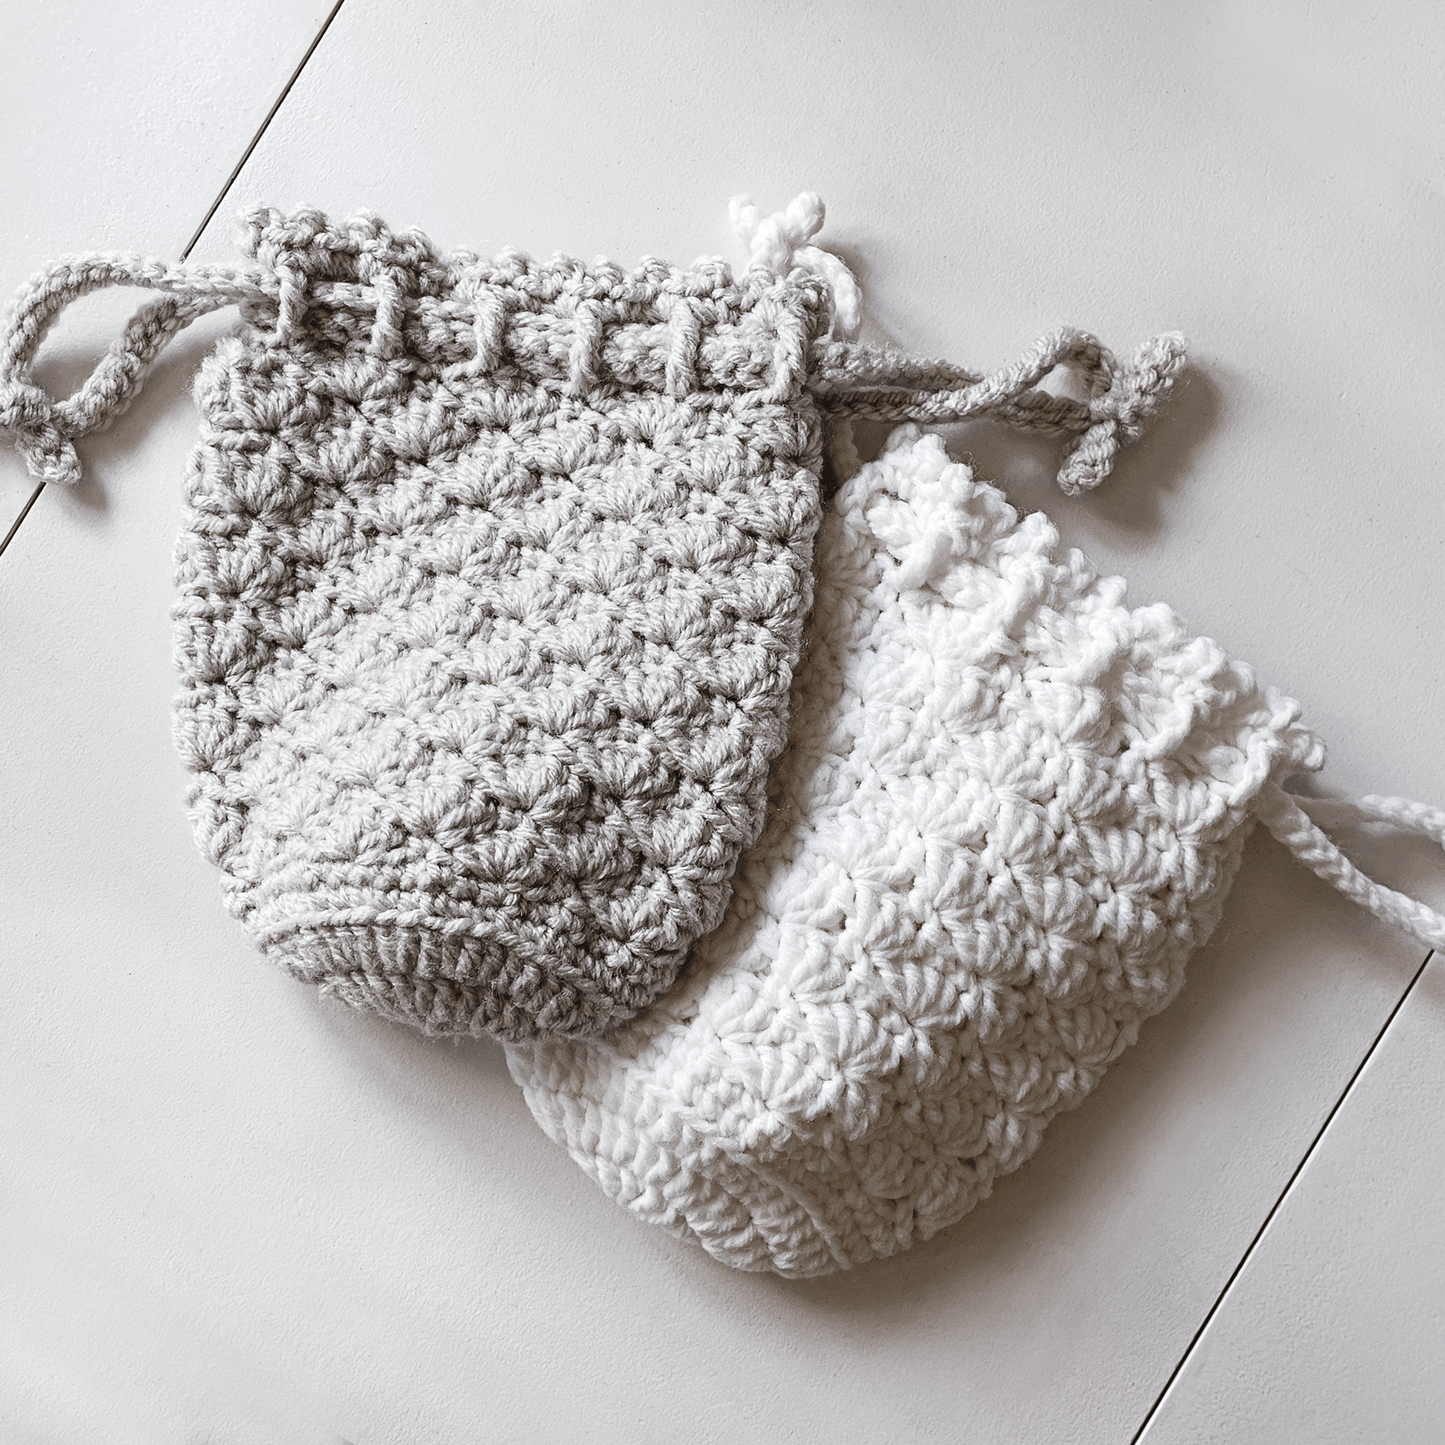
Store your drawstring bag in a dry, cool place. Avoid direct sunlight to keep colors bright.
Keep the bag loose and not squished. This helps keep its shape and prevents wrinkles.
- Store in a breathable cloth bag or box
- Avoid plastic bags that trap moisture
- Keep away from sharp objects that can snag yarn
- Fill the bag lightly with tissue paper to keep form
Credit: littlelightdesignco.com

Credit: www.youtube.com
Frequently Asked Questions
What Materials Are Needed To Crochet A Small Drawstring Bag?
You need yarn, a crochet hook, scissors, a yarn needle, and a drawstring cord. Choose a medium-weight yarn for durability. A size H or I crochet hook works well for beginners. These materials ensure your bag is sturdy and easy to make.
How Long Does It Take To Crochet A Small Drawstring Bag?
Crocheting a small drawstring bag typically takes 2 to 4 hours. This depends on your skill level and pattern complexity. Beginners might need more time, while experienced crocheters finish faster. It’s a quick project ideal for gifts or personal use.
Can Beginners Easily Crochet A Drawstring Bag?
Yes, beginners can crochet a drawstring bag easily. The project uses basic stitches like single crochet and chain stitches. Following a simple pattern helps build confidence. It’s a great way to practice consistent tension and shaping.
How Do I Add A Drawstring To My Crochet Bag?
To add a drawstring, crochet a long chain or use a cord. Weave it through the top row of the bag’s stitches. Leave enough length to pull and tie. This creates a functional closure for your bag.
Conclusion
Crocheting a small drawstring bag is fun and useful. You can make it in different colors and sizes. This project helps improve your crochet skills step by step. Carry your small items safely in your handmade bag. Keep practicing to make more bags with ease.
Enjoy creating something unique with your own hands. Try adding beads or patterns for extra style. This simple project brings joy and a sense of pride. Start today and see how quickly you improve.