
Are you looking for a simple and practical sewing project that you can finish quickly? Learning how to sew a square bottom drawstring bag is perfect for you.
This bag is not only stylish but also super useful for carrying your essentials or organizing your space. Imagine having a handmade bag that fits just right and stands on its own—sounds great, right? Keep reading, and you’ll discover easy steps and tips that will make sewing your own drawstring bag a fun and rewarding experience.
You’ll be amazed at how quickly you can create something both beautiful and functional!
Materials Needed
To sew a square bottom drawstring bag, you need specific materials. These materials make sewing easier and give the bag a neat look.
Gathering the right supplies before starting helps you work smoothly from start to finish.
Fabric Choices
Choose fabric that is strong and easy to sew. Cotton is a popular choice for bags.
Other good options include canvas, denim, or linen. These fabrics hold shape well.
- Cotton: soft and easy to sew
- Canvas: durable and thick
- Denim: strong and stylish
- Linen: light and breathable
Tools Required
You need some basic sewing tools to make the bag. These tools help cut, sew, and finish the project.
- Sewing machine or needle and thread
- Fabric scissors or rotary cutter
- Measuring tape or ruler
- Pins or clips to hold fabric
- Iron and ironing board
- Seam ripper for fixing mistakes
Optional Accessories
You can add accessories to make the bag more useful or pretty. These are not required but can improve your project.
- Drawstring cord or ribbon for closure
- Fabric marker or chalk for marking
- Decorative buttons or patches
- Interfacing for extra bag stiffness
- Bias tape for neat edges
Credit: sewverycrafty.com
Preparing The Fabric
Preparing the fabric is an important part of sewing a square bottom drawstring bag. Good preparation helps the fabric stay neat and easy to sew.
Take your time to measure, cut, and mark the fabric carefully. This makes the sewing process smoother and your bag look better.
Measuring And Cutting
First, measure the fabric pieces you need for your bag. Use a ruler or measuring tape for accuracy. Make sure your measurements match the size you want for the bag.
After measuring, cut the fabric with sharp scissors or a rotary cutter. Cut slowly to keep the edges straight and clean.
- Measure twice before cutting
- Use a flat surface for cutting
- Keep the fabric smooth and wrinkle-free
- Cut all pieces needed for the bag
Marking Seam Allowances
Mark the seam allowances on your fabric before sewing. Seam allowances are the extra fabric edges used to sew pieces together. Usually, a 1/2 inch allowance works well.
Use a fabric marker, chalk, or pencil to draw the seam lines. This helps you sew straight and keep the bag’s shape.
- Mark all edges where you will sew
- Use light, easy-to-remove marks
- Check that marks are clear and visible
- Keep marks inside the seam allowance area
Sewing The Main Body
Sewing the main body is the first step in making a square bottom drawstring bag. It forms the bag’s basic shape.
You will join fabric pieces and prepare the bottom to give the bag depth and strength.
Joining The Sides
Place the two main fabric pieces right sides together. Align the edges carefully.
Sew along both side edges with a straight stitch. Leave the top open for the drawstring.
- Use a ½ inch seam allowance
- Backstitch at the start and end for strength
- Press seams open or to one side
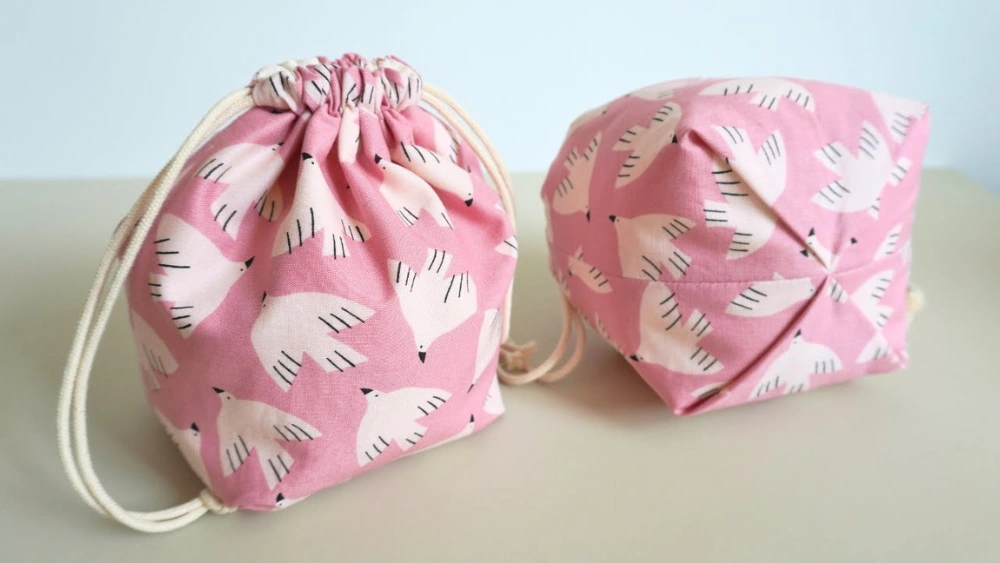
Creating The Square Bottom
To create a square bottom, pinch the bottom corners of the bag. Match the side seam with the bottom seam.
Sew across the corner about 1½ to 2 inches from the tip. This will form a flat bottom.
- Measure the same distance on both corners
- Trim the excess fabric after sewing
- Press the corners flat to shape the bottom

Credit: www.youtube.com
Making The Drawstring Casing
Creating the drawstring casing is an important step for your square bottom drawstring bag. This casing holds the string that closes the bag securely. Follow these simple instructions to make a neat and strong casing.
Start by preparing the top edge of your bag fabric. You will fold and sew the fabric to form a tube through which the drawstring will pass.
Folding And Pinning
Fold the top edge of the fabric down to create the casing. Measure carefully to ensure the casing is wide enough for your drawstring. Pin the folded fabric in place to keep it from moving while you sew.
- Fold the fabric down about 1 inch (2.5 cm).
- Pin the fold evenly along the entire top edge.
- Make sure the pins are parallel to the edge for easy sewing.
- Check that the fold is straight and smooth.
Sewing The Casing
Use a sewing machine to stitch the casing. Sew close to the bottom edge of the fold. Leave a small opening for threading the drawstring later. Backstitch at the start and end to secure the stitches.
| Action | Details |
| Stitch length | Medium (2.5 to 3 mm) |
| Seam allowance | 1/4 inch (0.6 cm) from fold edge |
| Opening size | About 2 inches (5 cm) |
| Thread type | Strong polyester thread |
Inserting The Drawstring
Adding a drawstring is the final step in making your square bottom bag functional. This guide helps you pick the right material and thread it properly.
The drawstring should be easy to pull and strong enough to hold the bag closed securely.
Choosing The Drawstring Material
Select a material that fits your bag style and use. Cotton cords, nylon ropes, and satin ribbons are common choices.
- Cotton cords:Soft and natural, good for casual bags.
- Nylon ropes:Durable and smooth, ideal for outdoor use.
- Satin ribbons:Decorative and shiny, perfect for gift bags.
- Leather strips:Strong and stylish, best for heavy bags.
Threading The Drawstring
Threading the drawstring requires patience to get it through the casing smoothly. You can use simple tools to help.
| Tool | Use |
|---|---|
| Safety pin | Attach to drawstring end to guide through casing |
| Bodkin | Special tool for pulling cords through narrow channels |
| Paperclip | Unfold and use as a needle for threading |
Once the drawstring is through, even out both ends. Knot the ends to stop fraying and keep the string from slipping out.
Finishing Touches
You’ve sewn your square bottom drawstring bag, and now it’s time to finish it. Adding the final touches will give your bag a polished look.
Let’s focus on securing the drawstring ends and explore optional embellishments to enhance your bag’s appearance.
Securing Drawstring Ends
Securing the ends of your drawstring prevents fraying and keeps the bag functional. You can tie knots at the ends for a simple solution.
Another option is to use fabric glue or heat-shrink tubing for a neat finish. This keeps the drawstring ends tidy.
- Tie knots at each end
- Use fabric glue for a clean finish
- Apply heat-shrink tubing to cover ends
Optional Embellishments
Embellishments add a unique touch to your bag. You can sew buttons or patches onto the fabric for decoration.
Add beads or charms to the drawstring for a personal flair. These small details can make your bag stand out.
- Sew on decorative buttons
- Add colorful patches
- Thread beads or charms onto drawstrings
Tips For Customization
Sewing a square bottom drawstring bag is fun and creative. There are many ways to make it unique. Try customizing with different techniques.
Adding personal touches makes your bag special. Let’s explore some ideas to customize your bag.
Adding Pockets
Pockets are useful for organizing items in your bag. They add both function and style.
- Sew a zipper pocket for secure storage.
- Attach a patch pocket on the inside for small items.
- Add multiple pockets for better organization.
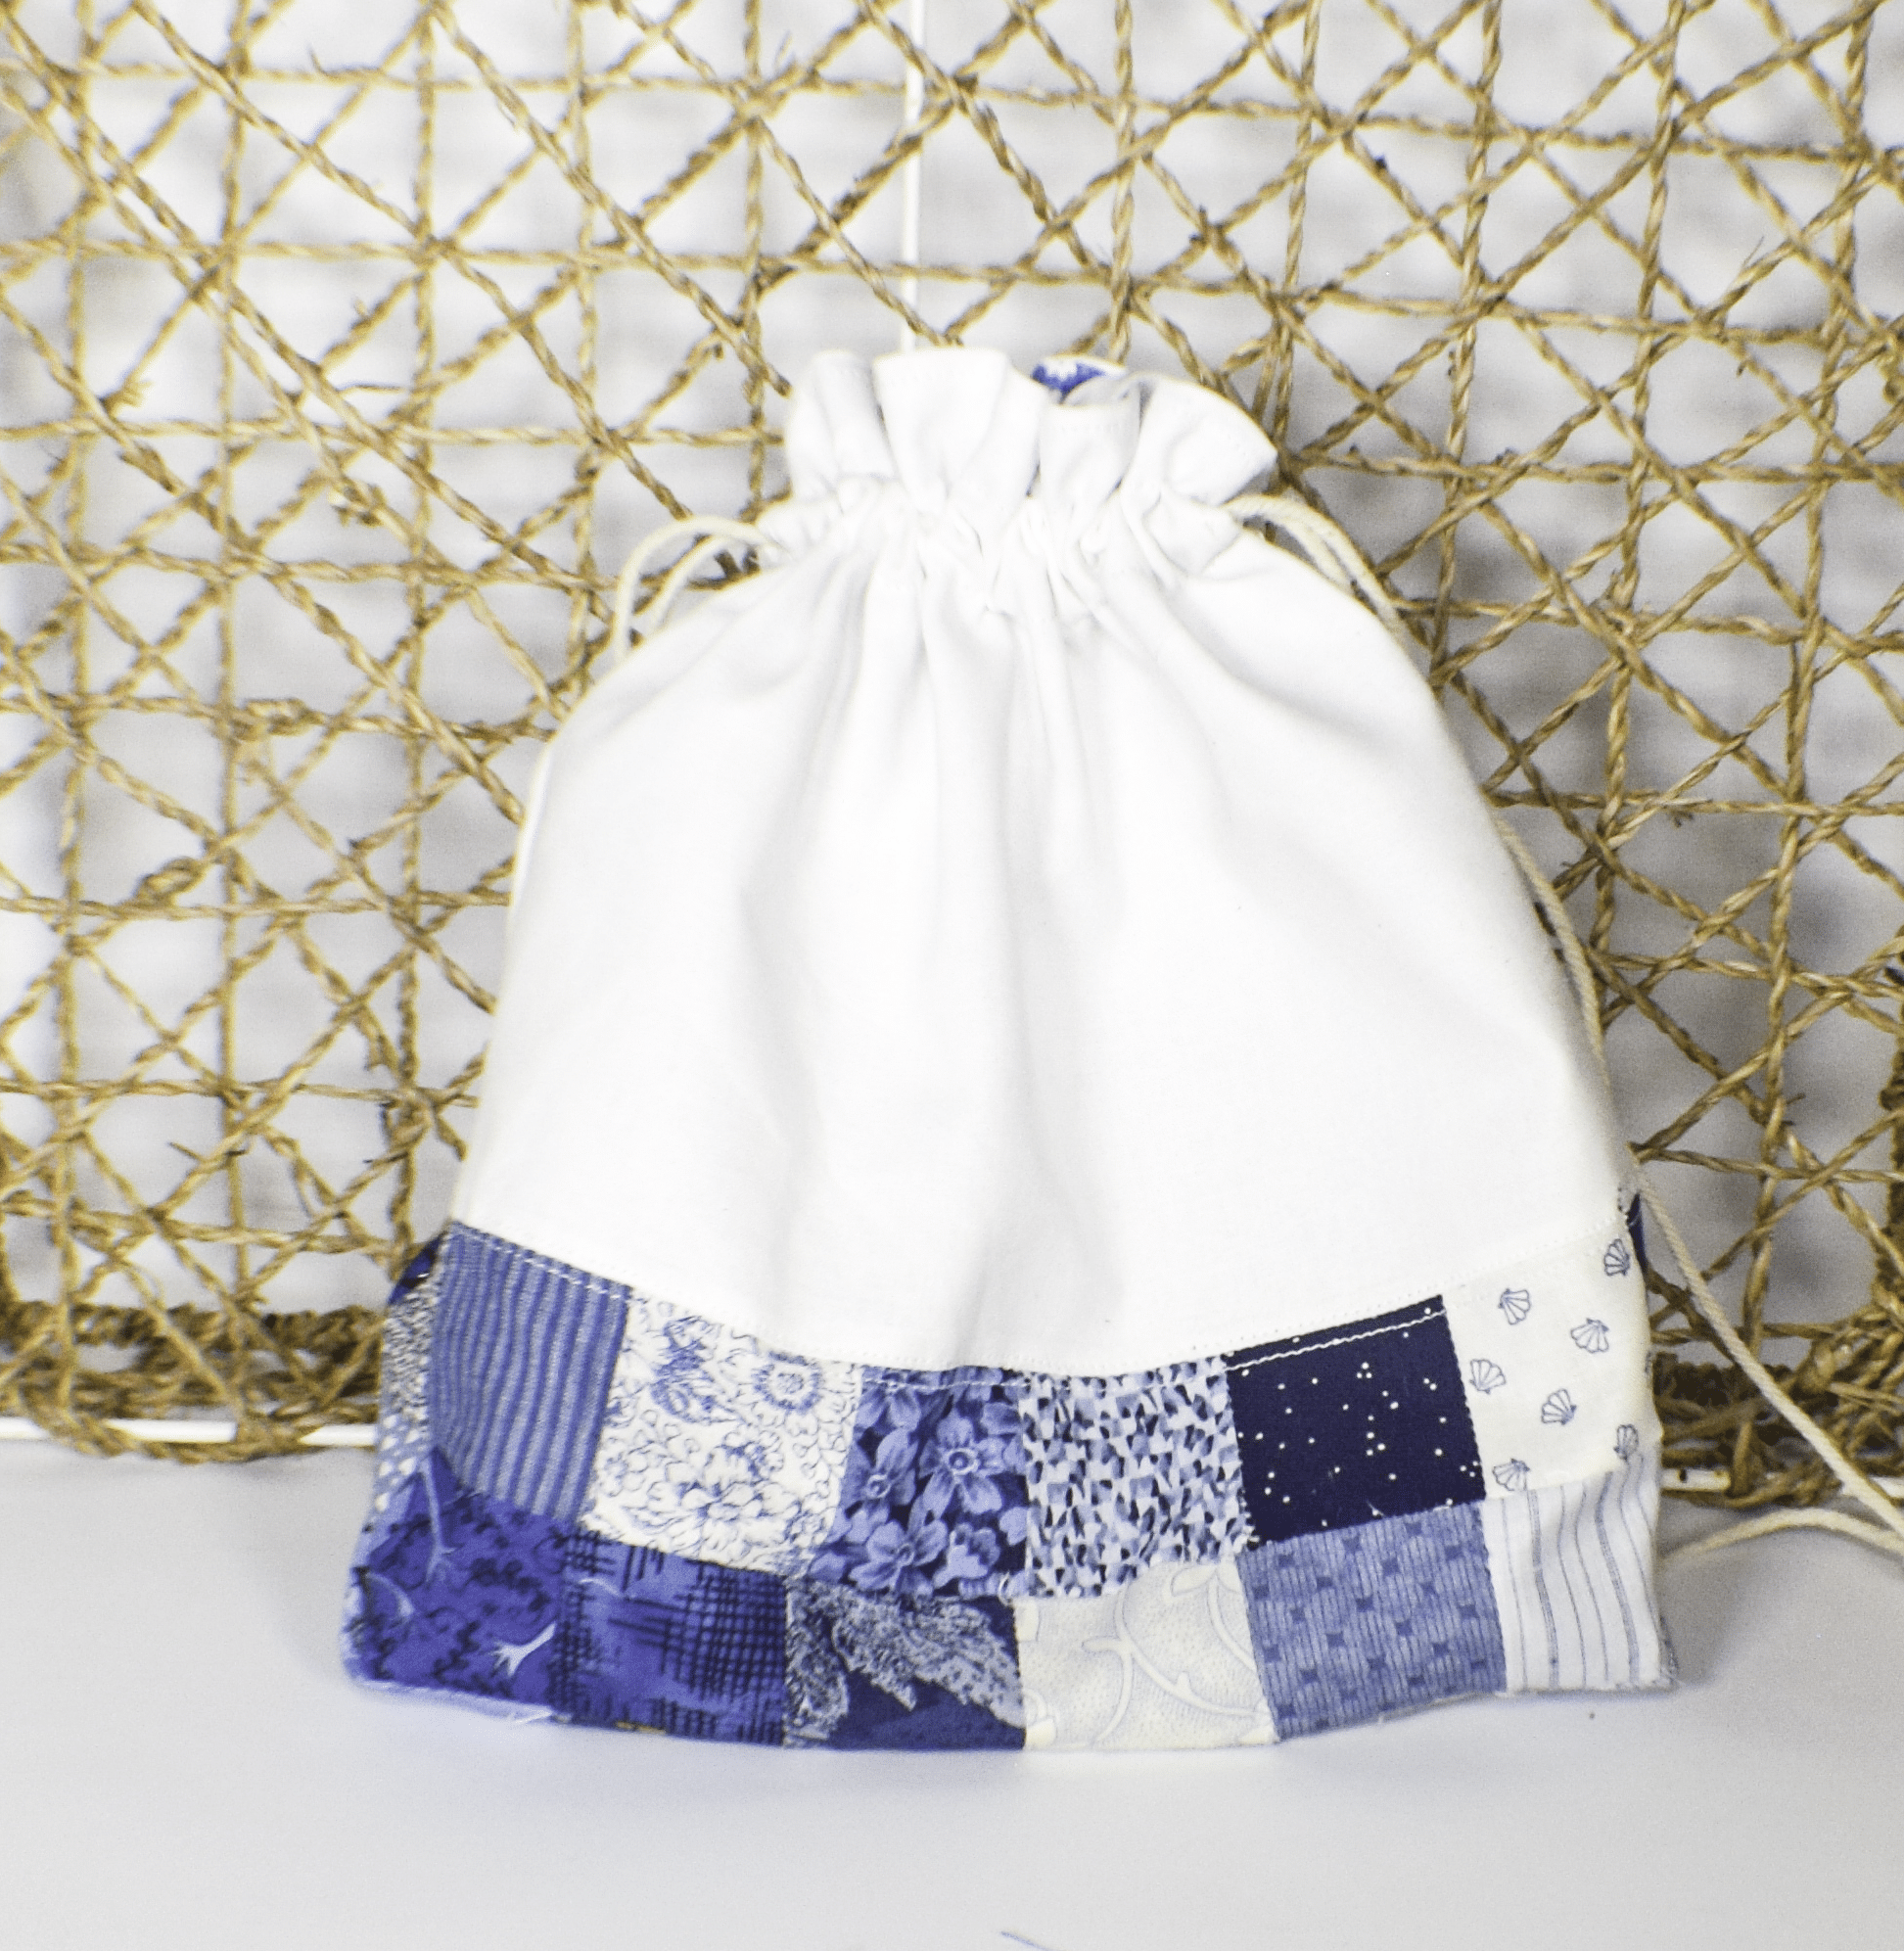
Using Different Fabrics
Choosing the right fabric changes the look and feel of your bag. Consider different textures and colors.
| Fabric Type | Feature |
| Cotton | Lightweight and breathable |
| Denim | Durable and sturdy |
| Canvas | Thick and strong |
| Satin | Smooth and shiny |
Personalizing With Embroidery
Embroidery adds a personal touch to your bag. It can be simple or detailed, depending on your skill level.

Credit: tlycblog.com
Frequently Asked Questions
How Do I Start Sewing A Square Bottom Drawstring Bag?
Begin by cutting fabric pieces according to your bag size. Sew the main body first, then attach the square bottom for shape. This method ensures a neat and structured bag base.
What Materials Are Needed For A Drawstring Bag?
You need fabric, matching thread, a drawstring cord, and a sewing machine or needle. Choose sturdy fabric for durability. These materials make the sewing process smooth and the bag functional.
How To Sew The Drawstring Channel Properly?
Fold the top edge of the bag twice to create a channel. Sew close to the edge, leaving space to thread the drawstring. This secures the cord and allows easy opening and closing.
Can I Use Different Fabrics For The Bag’s Exterior And Lining?
Yes, combining fabrics adds style and strength. Use a durable fabric outside and a soft lining inside. This combination enhances the bag’s appearance and functionality.
Conclusion
Sewing a square bottom drawstring bag is simple and fun. You can use any fabric you like. This project helps improve your sewing skills step by step. The bag is useful for carrying small items or gifts. Practice makes your stitches neat and even.
Try different sizes and colors for variety. Enjoy creating something practical with your own hands. Keep sewing and exploring new projects. You will feel proud of your handmade bag.


