Have you ever wanted to add a personal touch to your lunch bag? Embroidering on your lunch bag is easier than you think, and it can turn an ordinary item into something unique and special.
Whether you want to add your name, a fun design, or a motivational quote, this simple craft will make your lunch bag stand out every day. In this guide, you’ll discover step-by-step how to embroider on your lunch bag, even if you’ve never tried embroidery before.
Ready to create something truly yours? Keep reading, and let’s get started!

Credit: www.youtube.com
Choosing The Right Lunch Bag
Picking the right lunch bag makes embroidery easier and more durable. The bag’s material and size both affect your stitching experience.
This guide explains what to look for in materials and shapes before starting your embroidery project.
Material Matters
Choose a fabric that holds stitches well. Avoid very thin or stretchy materials that can warp your design.
- Cotton canvas is strong and easy to embroider.
- Polyester blends resist stains but may be slippery.
- Nylon bags are durable but can be tough to pierce.
- Leather or vinyl may need special needles or backing.
Size And Shape Considerations
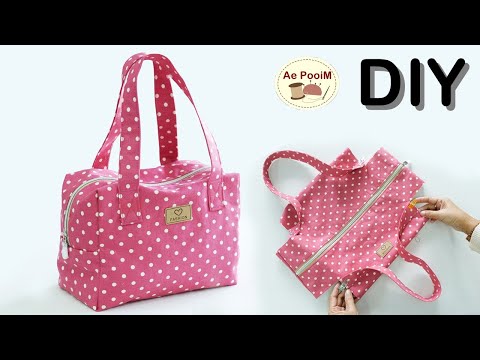
Look for a lunch bag with a flat, smooth surface. This space works best for embroidery designs.
| Feature | Why It Matters |
| Flat Surface | Allows easy stitching and clear designs |
| Size | Enough space for your embroidery pattern |
| Shape | Simple shapes reduce sewing challenges |
| Closure Type | Zippers or flaps affect design placement |
Credit: www.youtube.com
Selecting Embroidery Supplies
Embroidery on a lunch bag needs the right supplies. Good tools make your work easier and neater.
Choosing the right needle, thread, hoop, and stabilizer helps your design look great and last long.
Types Of Needles And Threads
Use embroidery needles that are sharp and strong. They can pierce thick fabric like lunch bags easily.
Choose threads made for embroidery. Rayon and polyester threads shine and hold color well.
- Needles: size 75/11 or 90/14 for thick fabric
- Threads: polyester for strength, rayon for shine
- Use colors that match or contrast your bag
Embroidery Hoops And Stabilizers
Embroidery hoops keep your fabric tight and flat. This helps your stitches stay even and smooth.
Stabilizers support the fabric during stitching. They stop fabric from stretching or puckering.
- Choose a hoop size that fits your design area
- Use tear-away stabilizers for easy removal
- Use cut-away stabilizers for strong, durable projects
Design Ideas For Lunch Bags
Embroidering on lunch bags adds a fun, personal touch. It makes your lunch bag stand out and feel special. You can use simple patterns or create unique designs.
This guide shares easy embroidery ideas for lunch bags. You will find designs for beginners and ways to add your name or logo.
Simple Patterns For Beginners
Start with easy shapes and small designs. These patterns help you practice stitches and build confidence. Choose designs that suit your style.
- Small hearts or stars
- Smiling faces
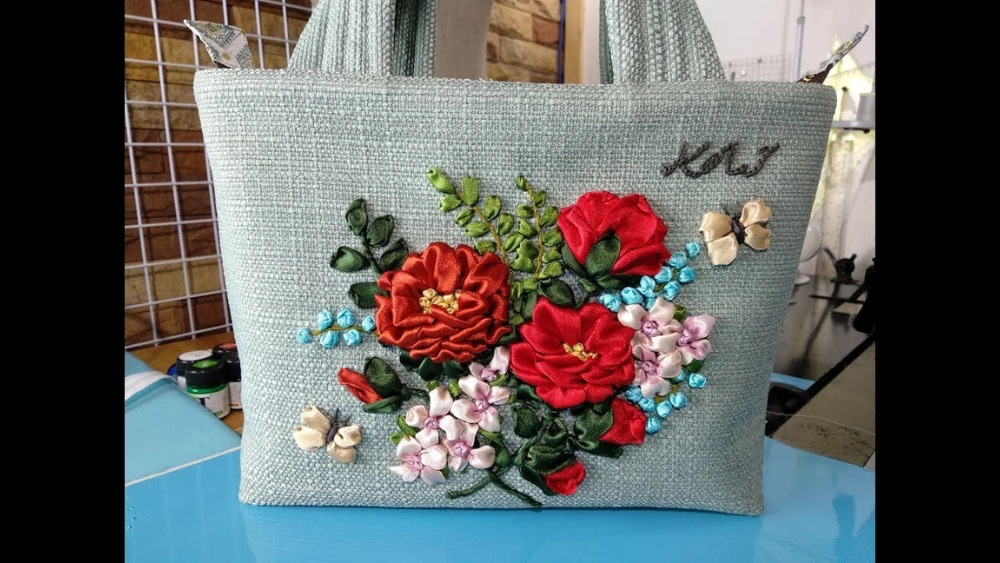
- Simple flowers like daisies
- Geometric shapes such as triangles
- Basic animals like cats or birds
Personalized Monograms And Logos
Add your initials or a small logo to make your lunch bag unique. Use clean lines and clear fonts for easy stitching. Monograms show your style and make bags easy to identify.
| Design Type | Description | Stitch Style |
| Monogram | Initials in decorative fonts | Backstitch or satin stitch |
| Logo | Simple shapes or symbols | Outline stitch or fill stitch |
| Name Tag | Your name in clear letters | Running stitch or chain stitch |
Preparing The Lunch Bag For Embroidery
Before you start embroidering on a lunch bag, it is important to prepare it well. Good preparation helps your design look neat and last long.
Proper preparation includes cleaning the bag, ironing it flat, and marking where you want the embroidery. These steps make the process easier.
Cleaning And Ironing
Clean the lunch bag to remove dirt and dust. This helps the embroidery thread stick better.
After cleaning, iron the bag to remove wrinkles. A smooth surface makes your embroidery neat and even.
- Check the care label for washing instructions.
- Use a mild detergent for gentle cleaning.
- Let the bag dry completely before ironing.
- Set the iron to a low heat to avoid damage.
- Place a cloth between the iron and bag for protection.
Marking The Design Area
Mark the area where you want to place the embroidery design. This helps you keep the design centered and straight.
Use a fabric pencil or disappearing ink pen for marking. These marks will not show after stitching.
- Measure the space carefully before marking.
- Draw light lines to guide your embroidery.
- Double-check the placement with the design size.
- Avoid using permanent markers to prevent stains.
Step-by-step Embroidery Process
Embroidering on a lunch bag adds a personal touch to a simple item. The process needs patience and care to get good results.
This guide shows you how to hoop the fabric, stitch basic embroidery designs, and finish your work.
Hooping The Fabric
Start by choosing the right hoop size for your lunch bag fabric. The hoop holds the fabric tight for easy stitching.
Place the fabric between the inner and outer hoop. Tighten the screw to keep the fabric firm but not stretched.
- Select a hoop that fits the embroidery area on the bag
- Place fabric on the inner hoop
- Press outer hoop down over fabric and inner hoop
- Tighten the screw to secure fabric firmly
- Check fabric tension to avoid wrinkles or sagging
Stitching Basic Embroidery Stitches
Use simple stitches to create your design. Start with running stitch, backstitch, and satin stitch for variety.
Keep your stitches even and neat. This helps your embroidery look clean and lasts longer.
- Running stitch: small, straight stitches for outlines
- Backstitch: strong stitch for lines and details
- Satin stitch: fills areas with smooth thread coverage
- French knots: add small dots or texture
Finishing Touches
Once stitching is done, remove the hoop carefully. Trim any loose threads with small scissors.
Press the embroidery gently with a cloth over it to avoid damage. This makes your work look smooth.
- Remove fabric from hoop slowly
- Cut loose threads close to fabric
- Place cloth over embroidery before ironing
- Use low heat and press gently
- Attach or sew the embroidered fabric back to the lunch bag
Caring For Your Embroidered Lunch Bag
Embroidering a lunch bag adds a personal touch. It makes your lunch bag unique and special. Proper care keeps it looking new.
Follow these tips to maintain your embroidered lunch bag. Proper washing and storage will ensure its longevity.
Washing Instructions
Washing your embroidered lunch bag needs care. Always check the fabric type first. Gentle hand washing is often best.
- Use cold water to prevent shrinkage
- Choose mild detergent for delicate fabrics
- Air dry to protect the embroidery
Storage Tips
Storing your lunch bag correctly prevents damage. Keep it clean and dry before storing. Avoid direct sunlight and damp places.
Protect the embroidery by using a dust bag or pillowcase. This keeps it safe from dust and dirt.
Troubleshooting Common Issues
Embroidering on a lunch bag can be a fun project. Yet, some issues may arise during the process.
Here we address common problems like thread tangles and fabric puckering. Follow these tips to achieve smooth embroidery.
Fixing Thread Tangles
Thread tangles can disrupt your embroidery flow. Ensure your thread is properly aligned on the spool.
- Check for knots before starting.
- Adjust the tension on your sewing machine.
- Use a thread conditioner to prevent tangling.
Dealing With Fabric Puckering
Fabric puckering is another common issue. It often happens due to incorrect tension settings.
Use a stabilizer to keep the fabric flat. It helps maintain even stitches.
| Action | Result |
| Use a stabilizer | Smoother fabric surface |
| Adjust tension | Even stitches |
| Slow down stitching speed | Reduces puckering |

Credit: www.youtube.com
Frequently Asked Questions
What Materials Are Needed To Embroider On A Lunch Bag?
You need embroidery floss, a needle, an embroidery hoop, stabilizer, and a lunch bag made from fabric or canvas. Choose washable materials for durability. Preparing these supplies ensures clean, precise stitching and long-lasting designs on your lunch bag.
How Do I Prepare The Lunch Bag For Embroidery?
Clean and dry the lunch bag before starting. Use a stabilizer inside the bag to prevent fabric puckering. Secure the area with an embroidery hoop to keep the fabric taut and make stitching easier and more accurate.
Which Embroidery Stitches Work Best On Lunch Bags?
Simple stitches like backstitch, satin stitch, and running stitch work best. These provide clear, durable designs on fabric lunch bags. Avoid complex stitches that might weaken the fabric or cause bulkiness.
Can I Wash A Lunch Bag After Embroidery?
Yes, but wash gently by hand or use a gentle cycle. Use cold water and mild detergent to protect stitches and fabric. Avoid harsh chemicals or bleach to maintain your embroidery’s quality and color.
Conclusion
Embroidering on a lunch bag adds a personal touch and style. Choose simple designs and use the right tools for best results. Practice on fabric scraps before stitching the bag. Take your time and enjoy the process. This craft makes your lunch bag unique and special.
Try different patterns to find what you like. Embroidery can turn a plain bag into a fun, creative item. Keep learning and experimenting to improve your skills. Your personalized lunch bag will stand out every day.