
Are you tired of carrying a plain, boring duffel bag that looks just like everyone else’s? Imagine turning your bag into a unique piece that shows off your style and personality.
Customizing a duffel bag with embroidery is easier than you think—and it can make your bag truly one of a kind. You’ll discover simple steps and creative ideas to help you add your personal touch. Get ready to transform your duffel bag into something you’ll love to carry everywhere.
Keep reading, and let’s make your bag stand out from the crowd!
Choosing The Right Duffel Bag
Picking the right duffel bag is key before you start customizing it with embroidery. This choice affects how your design looks and lasts.
Consider the bag’s material, size, color, and features to make sure it suits your style and needs.
Material And Size Considerations
Choose a bag made from a durable material that can handle embroidery stitches well. Common fabrics include canvas, nylon, and polyester.
- Canvas is thick and holds embroidery nicely.
- Nylon is lightweight but may need stabilizers.
- Polyester is sturdy and easy to clean.
Size matters too. Pick a size that fits your embroidery design without crowding or leaving too much empty space.
Color Selection Tips
Choose a bag color that makes your embroidery stand out. Light colors work well with dark thread, and dark bags suit bright or light-colored thread.
| Bag Color | Thread Color Suggestions |
| White or Light Grey | Black, Navy, Red |
| Black or Dark Blue | White, Yellow, Light Blue |
| Bright Colors | Neutral tones like Beige or Grey |
Bag Features To Look For
Look for bags with smooth surfaces and simple shapes. These make embroidery easier and neater.
- Wide flat areas for your design
- Strong seams to support stitching
- Easy-to-open zippers to avoid damage
- Handles that do not interfere with embroidery zones
Credit: riteacademy.com
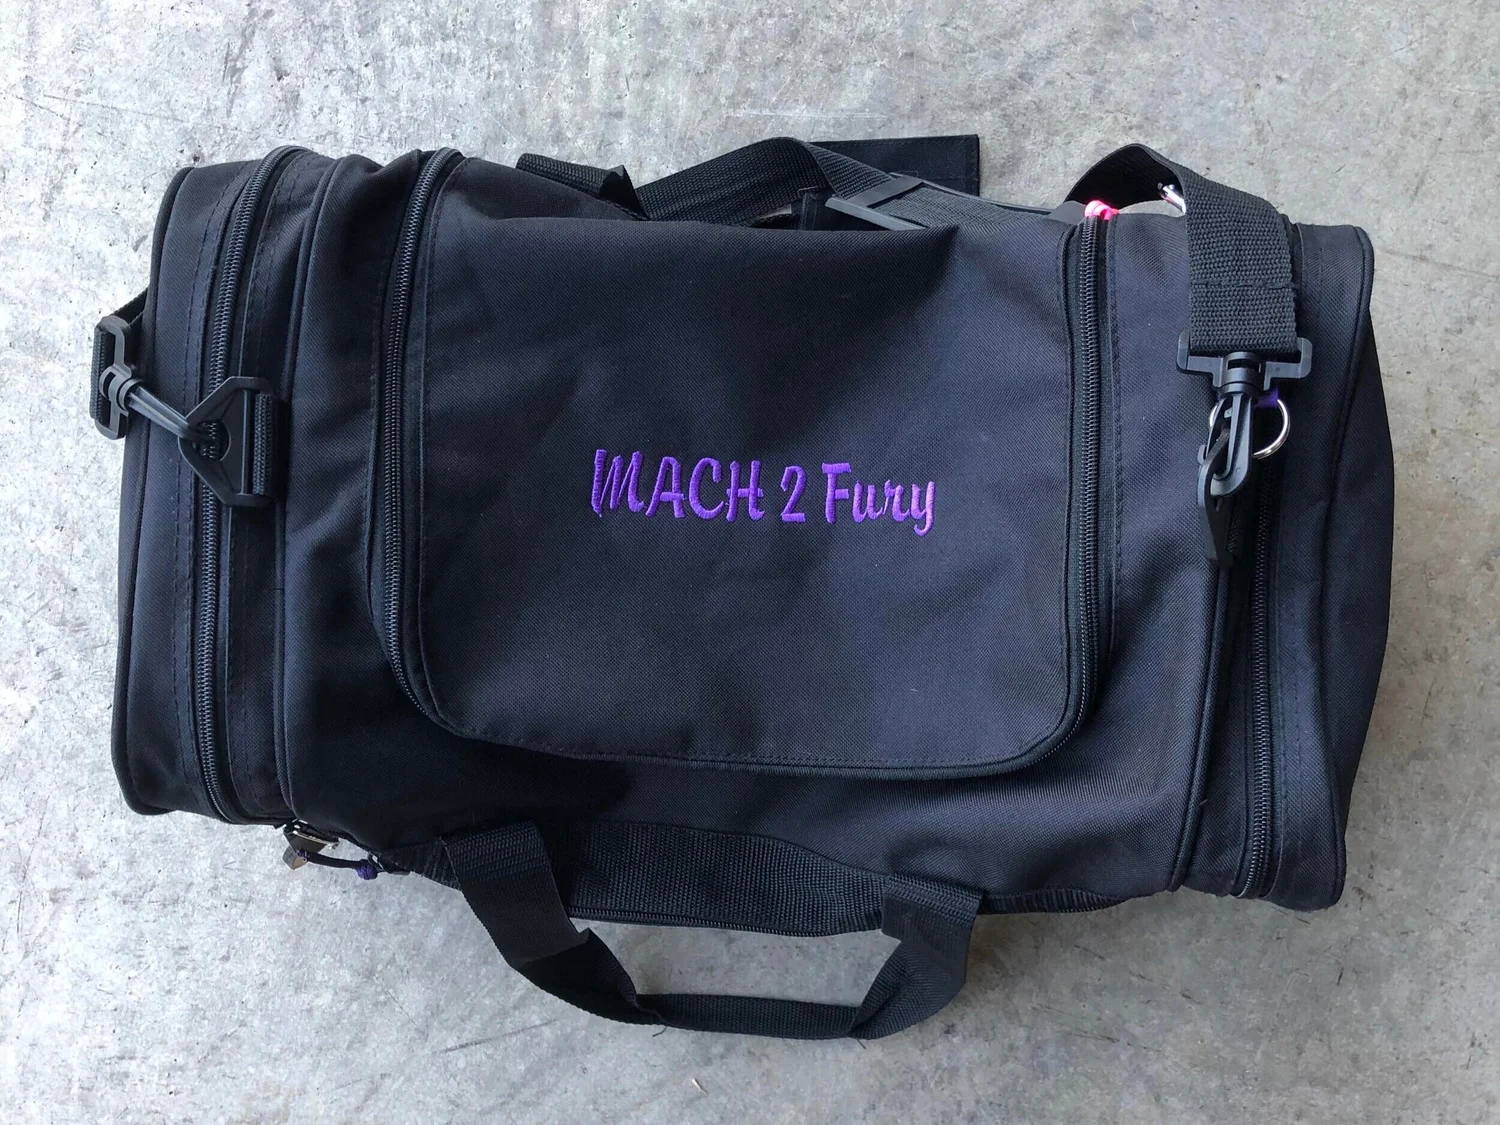
Selecting Embroidery Designs
Choosing the right embroidery design makes your duffel bag unique. It shows your style and personality.
Think about what you want to express. Pick designs that match your taste and the bag’s use.
Popular Motifs For Duffel Bags
Many embroidery motifs look great on duffel bags. Some common choices include animals, geometric shapes, and travel symbols.
- Animals like birds, lions, or butterflies
- Simple shapes such as stars, circles, and arrows
- Travel icons like airplanes, compasses, or maps
- Floral patterns with leaves and flowers
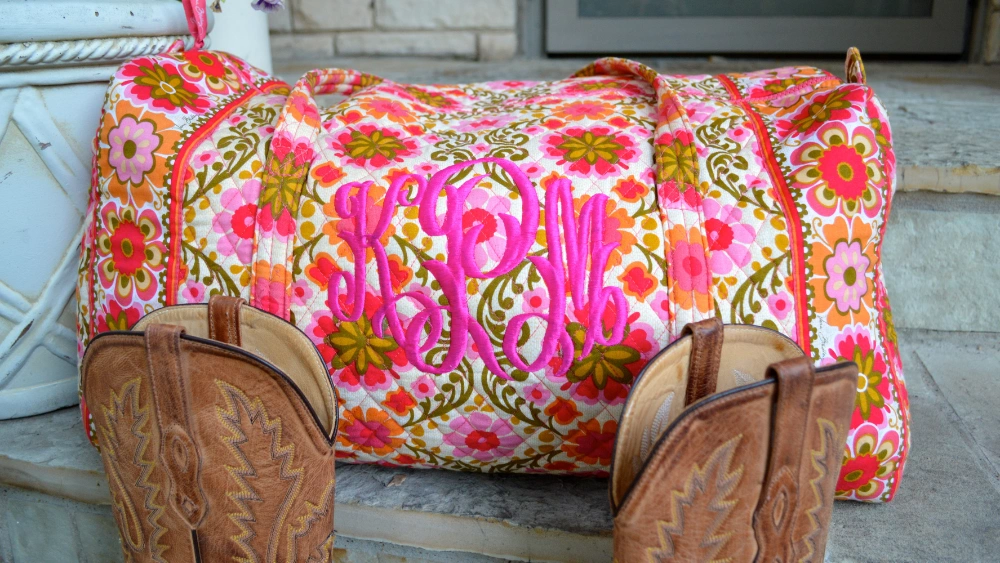
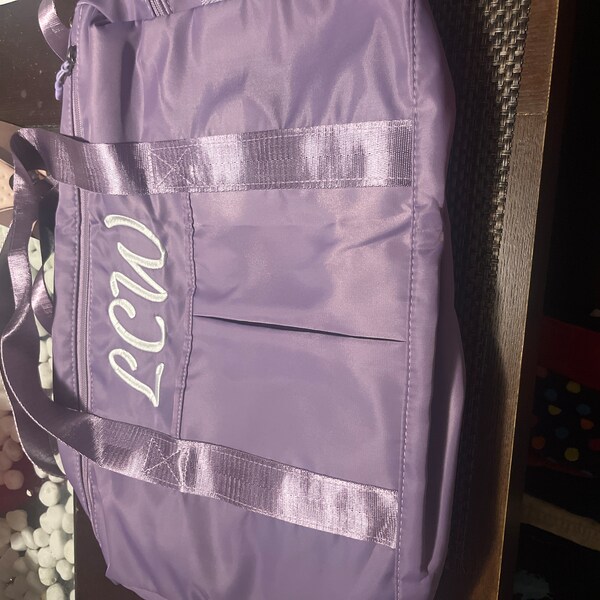
Personalized Monograms
Monograms add a personal touch to your bag. Use your initials or name in stylish fonts and colors.
| Monogram Style | Description | Best Use |
| Classic Serif | Elegant and traditional look | Formal or gift bags |
| Modern Sans-Serif | Clean and simple design | Casual and sporty bags |
| Script | Flowing and decorative letters | Fashion and personal items |
| Block Letters | Bold and easy to read | Kids’ or travel bags |
Seasonal And Themed Patterns
Seasonal patterns match holidays or weather. Themed patterns fit hobbies or interests.
- Winter: snowflakes, pine trees, cozy mittens
- Summer: suns, waves, palm trees
- Sports: balls, equipment, team logos
- Hobbies: music notes, books, cameras
Gathering Necessary Supplies
Customizing a duffel bag with embroidery can be a fun project. It requires some basic supplies to get started.
Having the right tools will make your embroidery neat and durable.
Embroidery Threads And Needles
Choose threads that are strong and colorful. Cotton or polyester threads are good options.
Use embroidery needles that fit your thread and fabric. A sharp needle works best for duffel bag material.
- Thick threads for bold designs
- Thin threads for detailed work
- Needles in various sizes
Stabilizers And Hoops
Stabilizers keep your fabric firm while you stitch. This helps prevent wrinkles and puckering.
Hoops hold the fabric in place, making it easier to embroider. A hoop should fit comfortably around your design area.
- Cut-away stabilizers for permanent support
- Tear-away stabilizers for temporary use
- Hoops in various sizes
Marking Tools And Scissors
Marking tools help you outline your design on the fabric. Water-soluble pens or chalk are good choices.
Sharp scissors are needed for cutting threads and fabric. Small embroidery scissors are very useful.
- Water-soluble marking pens
- Chalk for fabric marking
- Embroidery scissors for precision cuts
Preparing The Duffel Bag
Customizing a duffel bag with embroidery starts with good preparation. The bag must be ready for stitching to get the best results.
Proper cleaning, choosing the right spot, and securing the fabric are key steps before embroidery.
Cleaning And Ironing
Clean the duffel bag to remove dirt and dust. Dirt can block embroidery needles and cause damage.
Use a mild detergent and a soft cloth to wipe the surface. Avoid soaking the bag if it has leather parts.
After cleaning, iron the area where you will embroider. Use a low heat setting and a pressing cloth to protect the fabric.
Choosing Embroidery Placement
Pick a flat, smooth area on the duffel bag for your embroidery. Avoid seams, zippers, or pockets.
- Look for large empty spaces
- Consider visibility and style
- Check fabric thickness for needle support
- Think about the bag’s shape and use
Securing The Fabric
Secure the fabric to keep it tight during embroidery. Loose fabric causes uneven stitches and damage.
| Method | Description |
|---|---|
| Embroidery Hoop | Use a hoop to stretch fabric tightly around the embroidery area. |
| Backing Material | Add stabilizer or backing to support the fabric under the embroidery. |
| Temporary Adhesive | Spray a light adhesive to hold fabric layers together without residue. |
Basic Embroidery Stitches
Embroidery can add a personal touch to your duffel bag. Learning simple stitches helps you create neat designs.
Start with basic stitches to decorate your bag with patterns or initials. These stitches are easy to learn and use.
Backstitch And Running Stitch
The backstitch makes a solid line and is great for outlines. The running stitch is a simple dashed line used for details or borders.
- Backstitch:Insert the needle backward from the end of the last stitch for a continuous line.
- Running Stitch:Move the needle in and out of the fabric evenly to create a dashed effect.
- Both stitches are good for writing letters and creating shapes.
Satin Stitch
Satin stitch fills shapes with smooth, solid thread coverage. It is perfect for filling in small areas like letters or petals.
Tips for Satin Stitch:
- Keep stitches close and parallel.
- Use short stitches for better control.
- Fill the shape completely without gaps.
French Knots
French knots add small, raised dots. They are ideal for eyes, flower centers, or decorative accents.
| Step | Action |
| 1 | Bring needle up through fabric. |
| 2 | Wrap thread around needle twice. |
| 3 | Hold thread tight and push needle back near the entry point. |
| 4 | Pull needle through carefully to form a knot. |
Step-by-step Embroidery Process
Customizing a duffel bag with embroidery adds a personal touch. This process uses simple steps to guide you through.
Understanding each part will help you create a neat and lasting design on your bag.
Transferring The Design
First, choose your embroidery design. Use tracing paper or a washable marker to transfer the design onto the fabric. Make sure the design is clear and positioned where you want it.
Hooping The Fabric
Hooping holds the fabric tight for stitching. Place the fabric in the embroidery hoop with the design centered. Tighten the hoop to avoid any slack that can cause uneven stitches.
- Loosen the outer ring of the hoop.
- Place the fabric over the inner ring.
- Push the outer ring over the fabric and inner ring.
- Pull the fabric tight from the edges.
- Tighten the screw on the hoop securely.
Stitching Techniques
Use the right stitches to bring your design to life. Some common stitches are backstitch, satin stitch, and French knots. Each stitch gives a different look and texture.
| Stitch | Description | Use |
| Backstitch | Simple line stitch | Outlines and details |
| Satin Stitch | Close, smooth stitches | Filling shapes |
| French Knot | Small, raised dots | Decorative accents |
Finishing Touches
After you finish stitching your embroidery on the duffel bag, some final steps help make it look neat and last longer. These finishing touches keep your design clean and strong.
Removing stabilizers, trimming threads, and protecting the embroidery are important tasks. They improve the overall appearance and durability of your custom bag.
Removing Stabilizers
Stabilizers support the fabric during embroidery. Once stitching is done, you need to remove them carefully. There are different types of stabilizers, and each needs a specific removal method.
- For tear-away stabilizers, gently pull them off the back of the fabric.
- Cut-away stabilizers stay inside but trim excess close to the stitches.
- Water-soluble stabilizers dissolve in water; rinse the area carefully.
Trimming Threads
Loose threads can make embroidery look messy. Trimming them helps your design look sharp and tidy. Use small, sharp scissors for the best results.
- Look closely at both the front and back of the embroidery.
- Cut any stray threads near the stitches without damaging them.
- Remove knots or thread ends that stick out.
- Keep your scissors clean and sharp to avoid pulling threads.
Protecting The Embroidery
Protecting your embroidery keeps it bright and strong. Use simple methods to guard against wear and washing damage.
| Protection Method | How to Use | Benefits |
| Fabric Sealant Spray | Spray lightly over embroidery | Prevents fraying and water damage |
| Iron-on Patch | Apply on the back of embroidery | Adds extra support |
| Gentle Washing | Hand wash or use gentle cycle | Keeps stitches intact |
Credit: www.flyingfeetagility.com
Care Tips For Customized Duffel Bags
Custom embroidery adds a special touch to your duffel bag. Taking good care of it keeps the design looking fresh. Follow simple tips to keep your bag clean and safe.
Proper care also helps your bag last longer. Learn how to clean, store, and repair your embroidered duffel bag the right way.
Cleaning Instructions
Hand washing is the safest way to clean your embroidered duffel bag. Use mild soap and cold water to avoid color fading. Do not scrub the embroidery directly.
- Fill a basin with cold water and mild detergent.
- Dip a soft cloth in the water and gently wipe the bag.
- Rinse with clean cold water carefully.
- Air dry the bag away from direct sunlight.
Storage Recommendations
Store your duffel bag in a dry place to prevent mold and mildew. Avoid folding the bag on the embroidery to keep the stitches from bending or cracking.
| Storage Tip | Reason |
|---|---|
| Use a breathable fabric bag | Allows air circulation to prevent moisture |
| Keep away from direct sunlight | Prevents colors from fading |
| Place soft tissue inside bag | Helps maintain shape |
| Store flat or upright | Protects embroidery stitches |
Repairing Embroidery
If embroidery threads start to come loose, fix them quickly to avoid more damage. Use a needle and matching thread to secure loose ends. Avoid pulling or cutting threads harshly.
- Trim small frayed threads carefully.
- Use a needle to tuck loose threads back.
- If unsure, take the bag to a professional for repairs.
- Protect repaired areas by gentle washing only.
Credit: www.4imprint.com
Frequently Asked Questions
What Materials Do I Need To Customize A Duffel Bag With Embroidery?
You need embroidery thread, needles, an embroidery hoop, fabric stabilizer, and your duffel bag. Optional tools include embroidery software and transfer pens for design accuracy.
Can I Embroider Any Type Of Duffel Bag Fabric?
Most fabrics like canvas, nylon, and polyester work well. Avoid very thin or stretchy materials as they may distort or damage during embroidery.
How Do I Choose The Best Embroidery Design For My Duffel Bag?
Pick designs that match your style and bag size. Simple, bold patterns show up best on textured duffel fabrics.
Is Hand Embroidery Or Machine Embroidery Better For Duffel Bags?
Machine embroidery is faster and more precise for thick fabrics. Hand embroidery offers a unique, personal touch but takes longer.
Conclusion
Customizing a duffel bag with embroidery adds a personal touch. It makes your bag unique and easy to spot. You can choose designs that show your style or interests. Embroidery is a simple way to refresh an old bag. Just follow the steps carefully, and your project will turn out great.
Enjoy carrying a bag that feels special and truly yours. Give it a try and see how fun and rewarding it can be.


