
Do you want a stylish crossbody bag that’s unique and made just by you? Imagine carrying a bag that fits your style perfectly and shows off your creativity.
Making a crossbody bag out of fabric is easier than you think, and you don’t need fancy tools or skills to start. In this guide, you’ll discover simple steps to create your own bag, saving money and standing out from the crowd.
Ready to turn fabric into your new favorite accessory? Keep reading, and let’s get started!

Credit: www.youtube.com
Materials Needed
Making a crossbody bag from fabric is a fun and creative project. You need the right materials to make a strong and stylish bag.
Gathering good fabric and tools helps you finish your bag with ease and neatness. Let’s look at what materials you need.
Choosing The Right Fabric
Picking the right fabric is important for your bag’s look and strength. Choose fabric that is strong and can hold weight well.
Look for fabrics that are easy to sew and clean. Some fabrics work better for bags than others.
- Canvas: Strong and durable, great for everyday use
- Denim: Thick and sturdy, gives a casual look
- Cotton twill: Smooth and strong, easy to sew
- Faux leather: Adds style and is water-resistant
- Quilting cotton: Good for light bags and patterns
Essential Tools And Accessories
Having the right tools makes sewing your crossbody bag easier and faster. Make sure you have these items before you start.
These tools help you cut, sew, and finish your bag neatly and safely.
- Sewing machine or needle and thread
- Fabric scissors for clean cuts
- Measuring tape or ruler
- Pins or clips to hold fabric pieces together
- Chalk or fabric marker to draw patterns
- Iron to press fabric and seams
- Strap material like webbing or matching fabric
- Zipper or buttons for bag closure
- Optional: interfacing for added stiffness
Preparing The Fabric
Preparing the fabric is the first step to make a crossbody bag. Good preparation makes sewing easier and results better.
Start with clean, ironed fabric. This helps you measure and cut accurately without wrinkles.
Measuring And Cutting Pieces
Measure the fabric pieces carefully using a ruler or measuring tape. Use the bag pattern or your own sizes.
Cut the fabric with sharp scissors or a rotary cutter. Cut on a flat surface to keep edges straight.
- Cut the main body piece for the bag
- Cut the strap piece to the right length
- Cut lining and pocket pieces if needed
Marking Stitching Lines
Mark where to sew on the fabric with a fabric pen or chalk. This helps you sew straight and neat lines.
Mark seam allowances as well. These lines show how much fabric to leave for sewing edges together.
- Draw stitching lines on the wrong side of the fabric
- Mark corners and pocket placements
- Double-check all marks before sewing
Sewing The Bag Body
Sewing the body of your crossbody bag is an important step. It shapes the bag and holds all parts together.
You will join the fabric pieces and add pockets inside for better use.
Stitching Main Sections
Start by placing the main fabric pieces right sides together. Align the edges carefully to sew clean seams.
Use a straight stitch along the sides and bottom of the bag. Leave the top open for the bag opening.
- Pin the fabric pieces to keep them in place
- Sew with a ½ inch seam allowance for strength
- Backstitch at the start and end to secure stitches
- Trim extra fabric from seams to reduce bulk
Adding Inner Pockets
Inner pockets add space to keep small items organized inside the bag. Cut fabric pieces for each pocket.
Sew the pocket pieces together and attach them to the bag lining before sewing the lining to the bag body.
- Choose pocket size based on what you want to carry
- Sew pocket sides and bottom, leaving top open
- Pin pockets to the lining fabric in desired positions
- Sew pockets securely to the lining before assembly
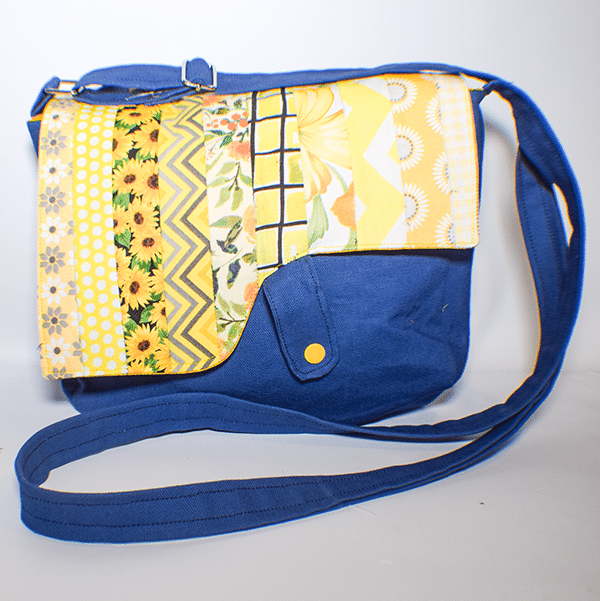
Credit: sewverycrafty.com
Creating The Strap
The strap is a key part of your crossbody bag. It needs to be strong and the right length. This makes the bag comfortable to wear.
We will look at how to measure and cut the strap fabric. Then, we will attach the strap to the bag securely.
Measuring And Cutting Strap Fabric
First, decide how long you want your strap. A good length is usually between 40 and 50 inches. This fits most people comfortably.
- Use a tape measure to get the length you want.
- Add 2 inches extra for seam allowance.
- Cut your fabric strip to the total length and about 3 to 4 inches wide.
- Fold the fabric lengthwise with the right sides facing each other.
- Sew along the long edge with a ½ inch seam allowance.
- Turn the strap right side out and press it flat with an iron.
Attaching Strap To Bag
Attach the strap to your bag in a way that it holds weight well. You can sew it directly or add metal rings for a cleaner look.
| Attachment Method | How to Do It | Benefit |
| Sew Directly | Pin strap ends to bag sides and sew with strong thread. | Simple and sturdy |
| Use Metal Rings | Loop strap ends through rings and sew securely. | Adjustable and stylish |
| Add Reinforcement | Sew an extra piece of fabric over strap ends. | Extra strength |
Finishing Touches
Finishing touches bring your crossbody bag to life. They make the bag both useful and attractive.
Pay attention to details like closures and pressing. These steps help your bag look neat and last longer.
Adding Closures And Embellishments
Closures keep your bag secure. Choose buttons, zippers, or snaps to fit your style and use.
Embellishments add personality. Use patches, beads, or embroidery to make your bag unique.
- Attach a zipper along the top edge for safety
- Sew buttons or snaps for easy opening and closing
- Add decorative patches with fabric glue or stitching
- Use beads or charms on the strap for style
- Try simple embroidery to personalize the fabric
Pressing And Final Inspection
Press your bag with an iron to remove wrinkles. Use the right heat for your fabric type.
Check all seams and closures. Make sure everything is strong and looks good.
- Set the iron to the fabric’s safe temperature
- Press seams flat for a crisp look
- Look for loose threads and trim them
- Test closures to ensure they work well
- Adjust any parts that seem uneven or loose

Credit: www.youtube.com
Care Tips For Fabric Bags
Fabric bags are stylish and eco-friendly. They need proper care to stay in good shape. Follow these simple tips to maintain your fabric bag’s beauty and functionality.
Whether you use it daily or occasionally, a little attention goes a long way. Let’s explore how to keep your fabric bag looking new.
Regular Cleaning
Clean your fabric bag regularly to remove dirt and stains. Use mild soap and water for washing. Avoid harsh chemicals that can damage the fabric.
- Spot clean spills immediately
- Brush off dust and dirt after each use
- Use a gentle detergent for hand washing
Storage Tips
Proper storage prevents wrinkles and fading. Keep your bag in a cool, dry place. Avoid direct sunlight and damp areas.
Store your bag in a breathable cotton dust cover. Avoid plastic covers that trap moisture.
Avoid Overloading
Do not overload your fabric bag. Excess weight can stretch and weaken the fabric. Keep it light for longer life.
Handle With Care
Be gentle with zippers and handles. Avoid pulling them forcefully. This prevents tears and ensures durability.
Patch Small Tears
Fix small tears as soon as possible. Use matching thread for sewing. This prevents further damage and keeps your bag intact.
| Action | Frequency |
| Spot Clean | As needed |
| Brush Off Dust | After each use |
| Store Properly | Always |
| Check for Tears | Monthly |
Frequently Asked Questions
What Materials Are Needed To Make A Fabric Crossbody Bag?
You need fabric, thread, scissors, a sewing machine, straps, and a zipper or button. Choose durable fabric for longevity and comfort.
How Long Does It Take To Sew A Crossbody Bag?
It typically takes 1 to 2 hours for beginners. Experienced sewers can finish faster, depending on design complexity.
Can I Customize The Size Of My Crossbody Bag?
Yes, you can easily adjust the pattern size to fit your needs. Just scale the fabric pieces before cutting.
What Type Of Fabric Is Best For A Crossbody Bag?
Cotton canvas, denim, or upholstery fabric work best. These fabrics are strong and hold shape well for daily use.
Conclusion
Making a crossbody bag from fabric is fun and simple. You only need a few materials and some patience. Each step builds your skills and confidence. Soon, you will have a unique bag to use every day. This project saves money and lets you show your style.
Try different fabrics and colors to make it yours. Enjoy carrying something you made by hand. Keep practicing, and your bags will look even better. Making things yourself feels great. Give it a try and see the results!


